
24 Easy DIY Christmas Decor Ideas to Make Your Home Feel Magical
The most memorable holiday homes usually aren’t the ones with the most store-bought decorations. They’re the ones with a few handmade details you notice up close: the scent of dried citrus on the mantel, a window glowing with paper stars, a table set with sprigs of rosemary. DIY Christmas decor gives you that personal touch, and most of these projects need only paper, yarn, greenery, and a few pantry items. The ideas below work in apartments and larger homes, and they cover the mantel, tree, table, windows, stairs, and porch. Some take twenty minutes. A few are better as a weekend project with music on. Start with whichever looks most like your house.
1. Hang a Dried Orange Slice Garland Along the Mantel
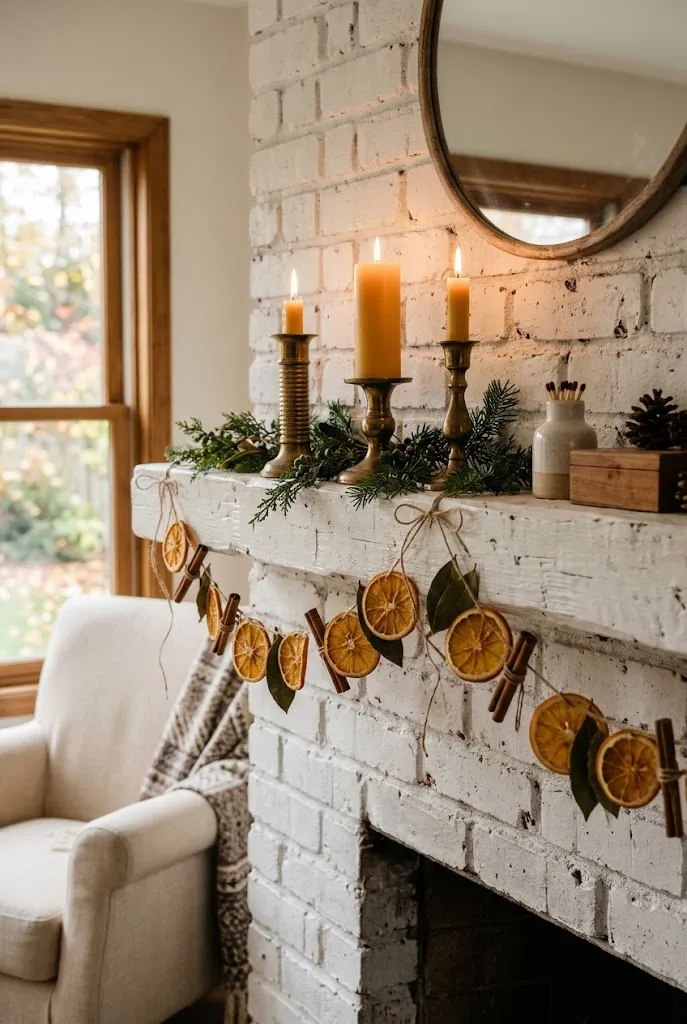
Dried citrus is one of the few DIY decorations that looks good and smells good. Thin orange slices turn translucent and amber, and they catch the light from candles or string lights. Strung on twine with cinnamon sticks and a few bay leaves, they give a mantel a warm, slightly vintage look.
Quick Facts
Best For: Mantels, shelves, kitchen windows
Investment: Accessible
Visual Effect: Warm amber glow, natural texture
To make it:
- Slice oranges about ¼ inch thick and blot them with paper towels.
- Lay the slices on a rack set over a baking sheet.
- Bake at about 200°F for roughly 3 to 4 hours, flipping once, until dry but not browned.
- Let them cool fully, then thread them on jute twine with a needle.
Quick Tip: Slightly browned edges are fine, but slices that stay tacky in the center will mold. If they feel soft after cooling, return them to the oven for another 30 minutes.
2. Cut Salt Dough Ornaments for the Tree
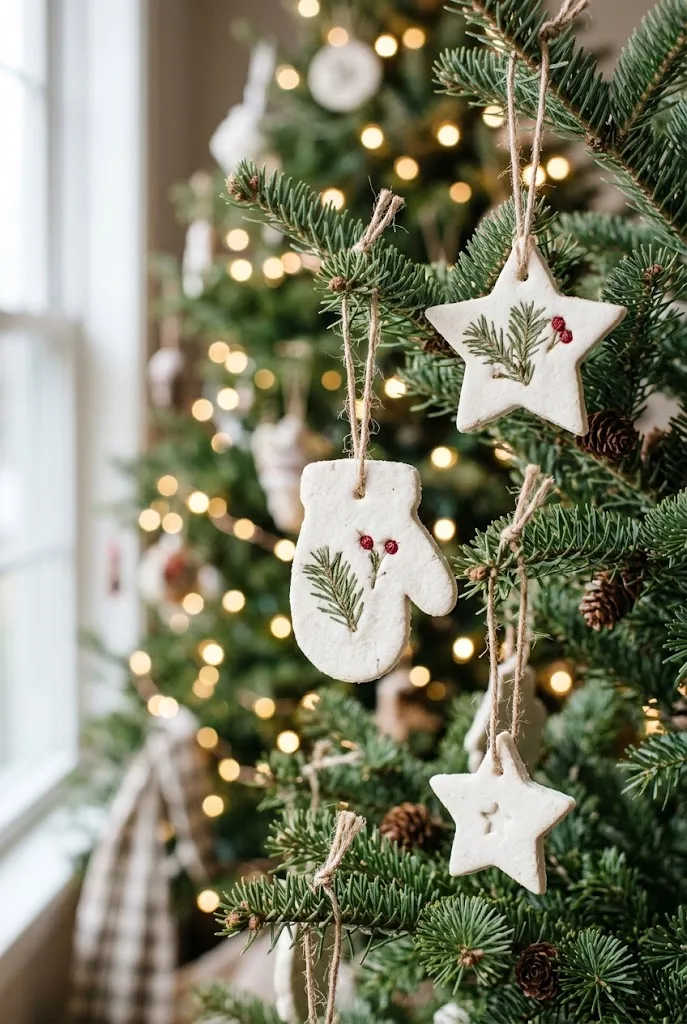
Salt dough is cheap, forgiving, and good for projects with kids. The flat white surface works for simple shapes like stars, mittens, and gingerbread-style figures, and you can press in sprigs of greenery or a stamped pattern before baking. Keep the designs plain. Unpainted white ornaments look refined, and a little matte paint or a clear seal makes them last.
- Mix 2 cups flour, 1 cup salt, and 1 cup water into a smooth dough.
- Roll to about ¼ inch and cut shapes, then poke a hole near the top.
- Bake low, around 250°F, for 2 to 3 hours, depending on thickness, until fully hard.
- Let cool completely before painting or sealing.
These are decorative only and not edible. Store them somewhere dry, since salt dough absorbs moisture.
3. Build a Forest of Pinecone Mini Trees
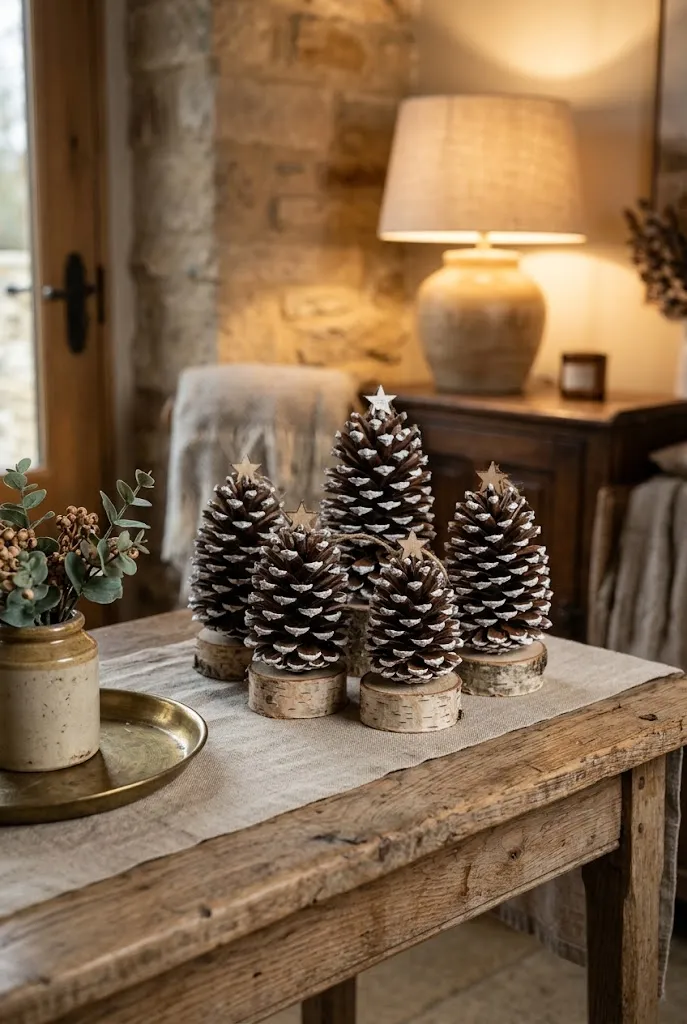
Pinecones already look like tiny evergreens, so they need very little to become a centerpiece. Brush the tips with white acrylic paint, glue a cone onto a small wooden base or a spool, and group three or four in different heights. Arranged on a console or dining table, they read as a miniature winter forest.
Do
- Use cones of similar shape within each tree.
- Vary heights to create a natural cluster.
- Let paint dry fully before moving them.
Don’t
- Soak the paint on. A dry brush gives the frosted look.
- Use damp cones. Bake collected cones at 200°F for about 30 minutes to dry them and drive out pests.
4. Light a Table With Snowy Mason Jar Luminaries
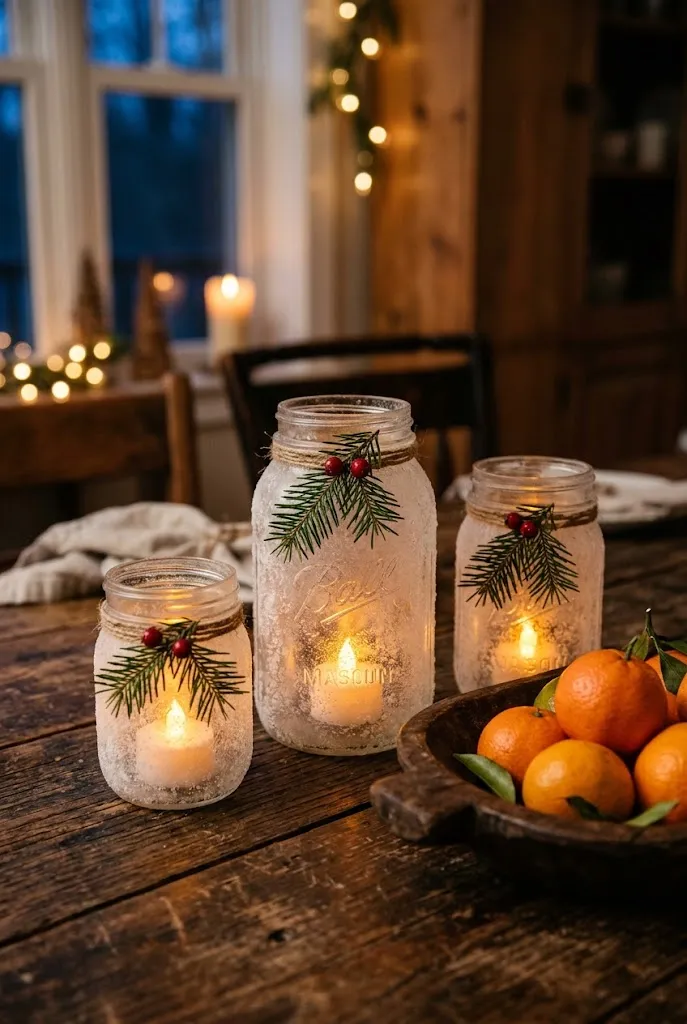
Mason jar luminaries are an old trick that still works because the glow is so soft. Brush the outside of a jar with white craft glue or decoupage medium, then dab on epsom salt for a frosted, snow-on-glass texture. Add a battery-operated tea light inside and tie twine around the neck with a small sprig of greenery.
Use LED lights only. Real flames next to dried greenery and twine are a fire risk, and frosted glass holds heat unevenly.
5. Drape a Chunky Yarn Pom-Pom Garland Down the Staircase
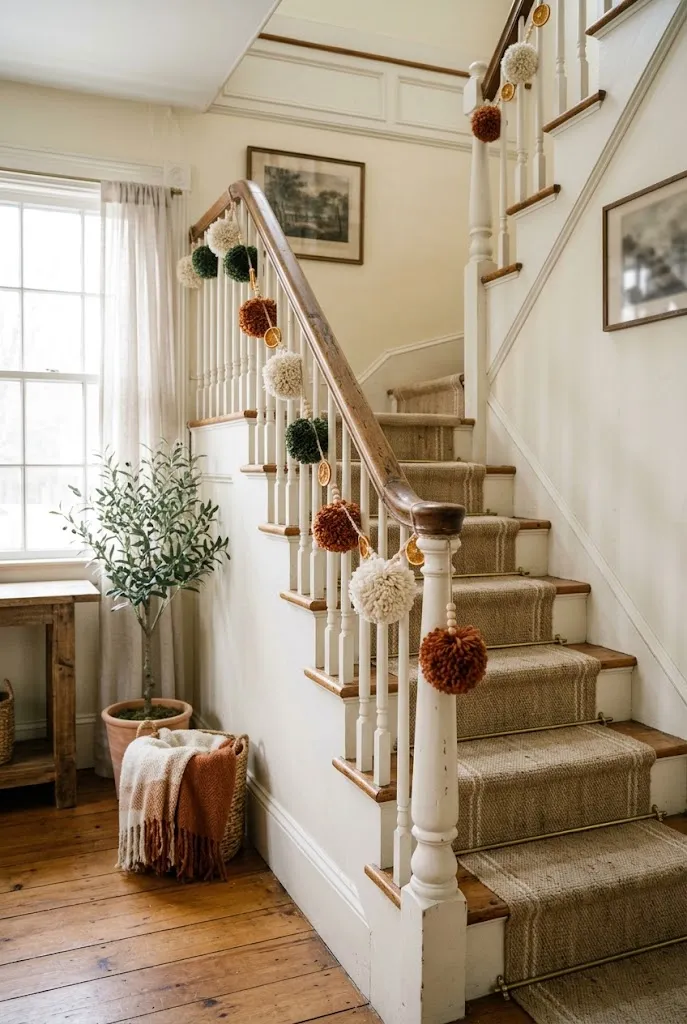
A staircase is one of the most overlooked places to decorate, and a pom-pom garland adds soft color without needing greenery. Wrap yarn around your hand or a fork, tie the center tightly, and trim into rounds. Mix cream, forest green, and a rust or cranberry shade, then tie the pom-poms onto a long length of twine and hang it in loose scallops along the banister.
The scale matters here. Pom-poms about 2 to 3 inches wide look intentional on a banister, while tiny ones disappear. If your stairs have a painted white spindle rail, one muted accent color is enough.
6. Make an Embroidery Hoop Greenery Wreath
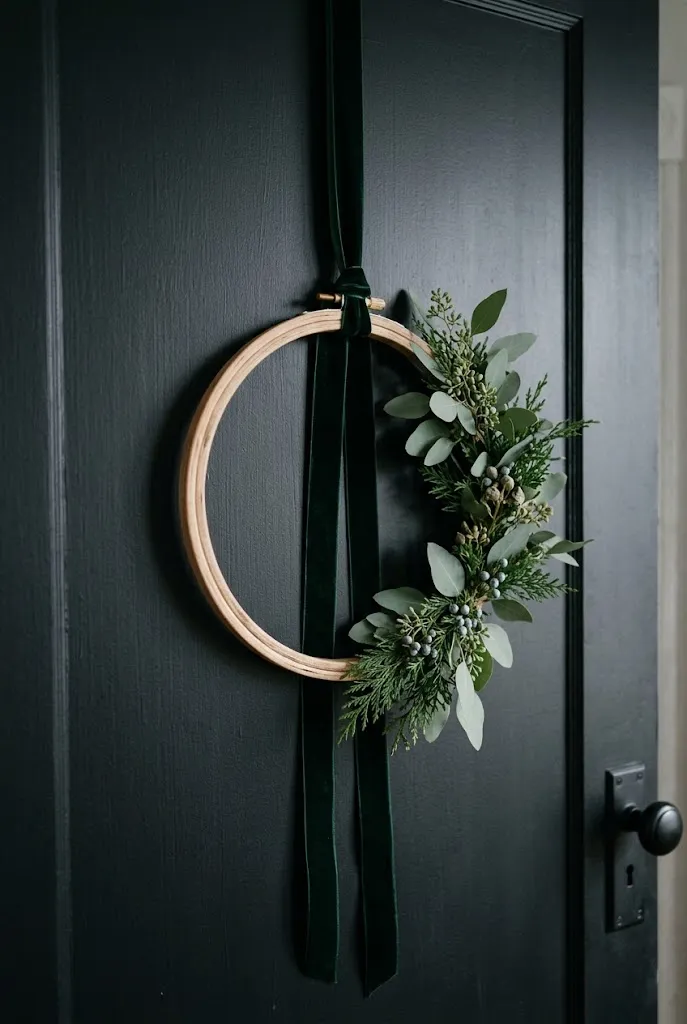
An embroidery hoop gives you a lightweight wreath base that costs very little and hangs flat against a door, wall, or window. Wrap the hoop in ribbon or leave the wood bare, then tuck in short stems of eucalyptus, cedar, or boxwood, and secure them with floral wire. Leaving part of the hoop uncovered is what gives it a modern, airy shape instead of a traditional full wreath.
Tips & Tricks
- Layer the longest stems first, then add shorter pieces toward the center.
- Fresh cuttings dry out indoors in a couple of weeks. Faux stems last the whole season.
- A loop of velvet ribbon doubles as the hanger and a bow.
7. Shape a Branch Wall Tree With String Lights
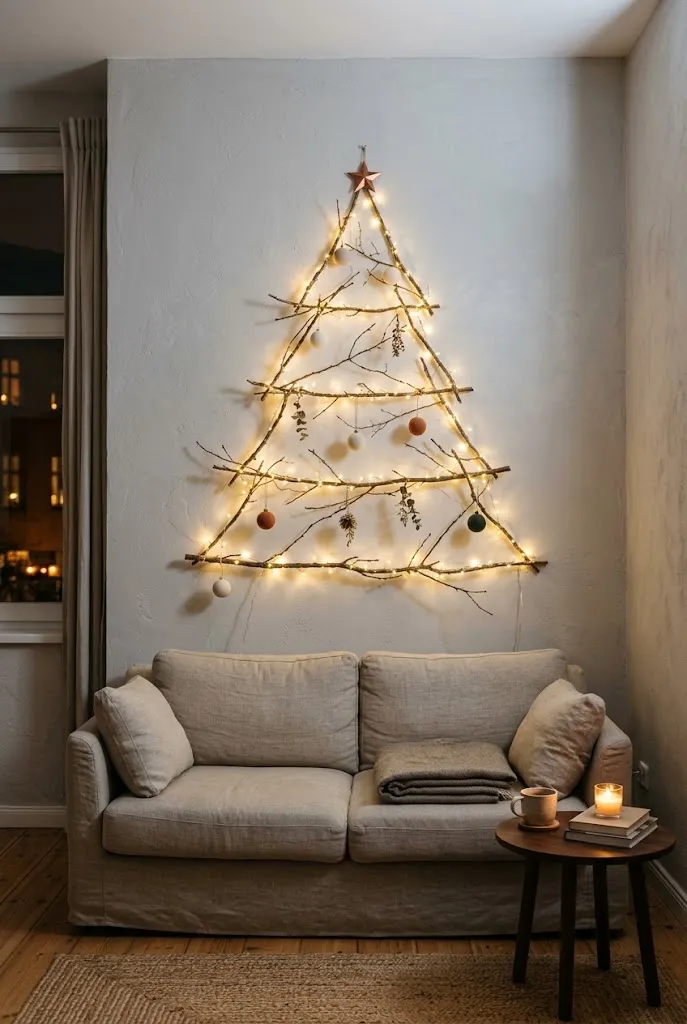
If floor space is tight, or a real tree isn’t practical, a tree made from branches and lights can live on the wall. Gather straight, bare branches of varying lengths and fan them out in a triangle, then trim and fix them to the wall with removable hooks or small nails if you own the place. Weave in warm white micro-lights and add a few lightweight ornaments.
For renters, lay out the shape on the floor first and photograph it. Then use removable adhesive hooks rated for the weight of the branches, and keep the outline lighter than you think you need.
8. Tie Oversized Velvet Ribbon Bows
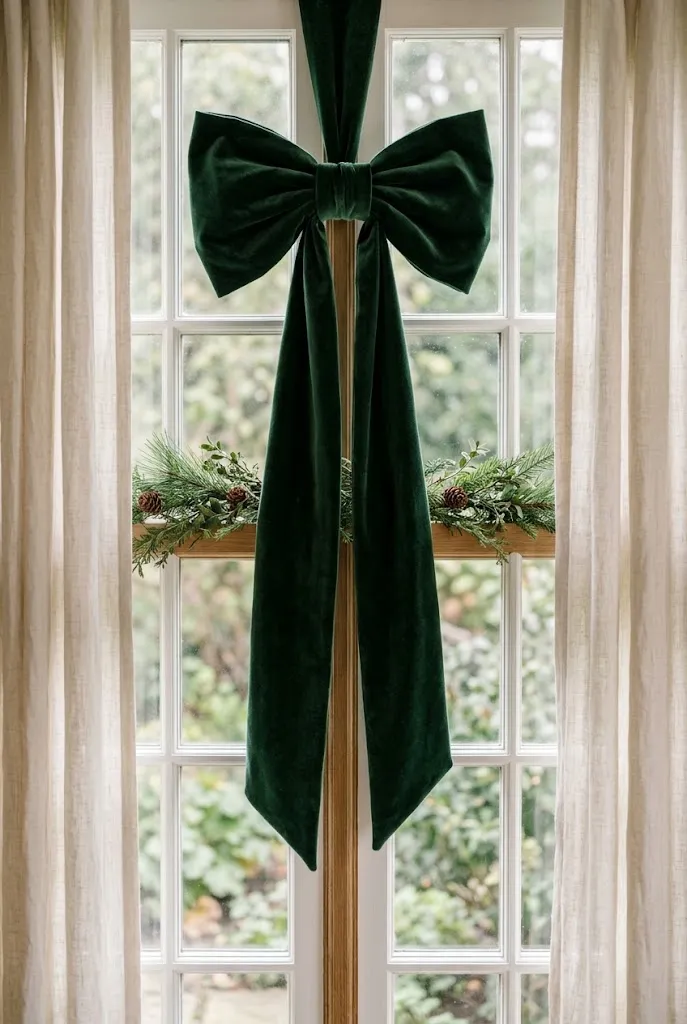
A bow made from wide velvet or wired ribbon looks more expensive than it is. Use about 1½ to 2½ yards for a full bow with a center knot and long tails. Tie them to a banister, a chandelier, a window frame, or a wreath, and keep the palette tight: deep green, burgundy, or cream tends to look richer than a mix.
Common Mistake: Choosing thin, unwired ribbon, which collapses.
Better Approach: Wired ribbon holds its shape, and a bit of floral wire on the back keeps the loops full. Pinch the center before you tie it so the tails fall evenly.
9. Hang Folded Paper Star Lanterns
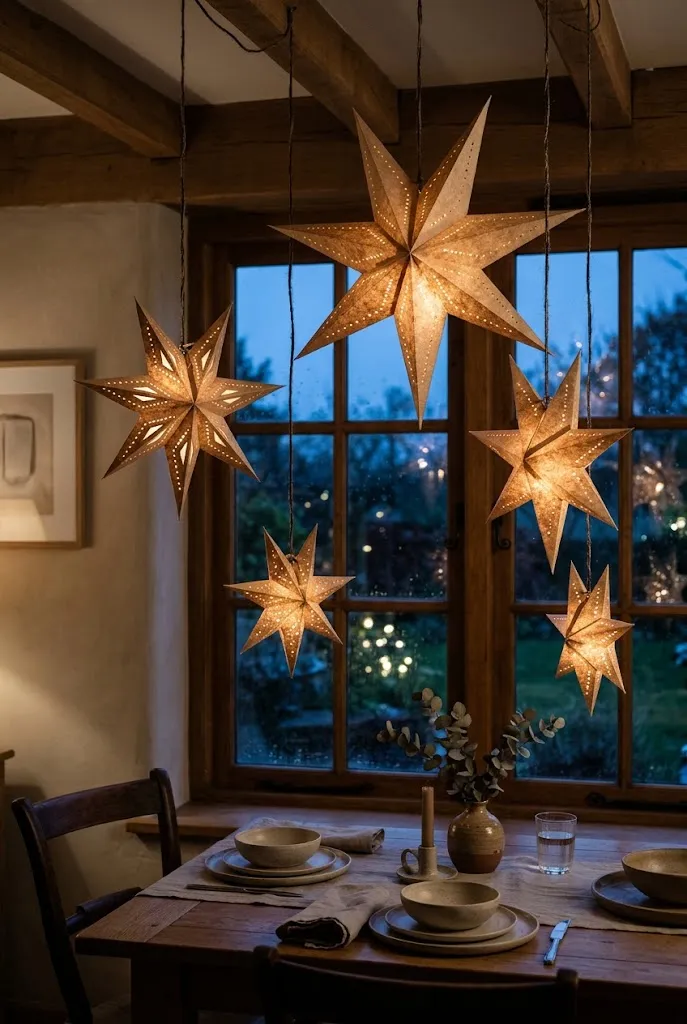
Paper stars are one of those crafts that look complicated and aren’t. Folded from strips of cardstock or heavy kraft paper, they hang in a window or over a dining table and cast a pattern of light when you put a small LED inside. A group in three sizes looks better than a single large one.
- Cut equal strips of cardstock.
- Fold each into a woven star using a simple pentagon knot method.
- Pop the shape open and add a battery LED inside.
- Hang on thread at different heights.
10. Cover a Window With Paper Snowflakes
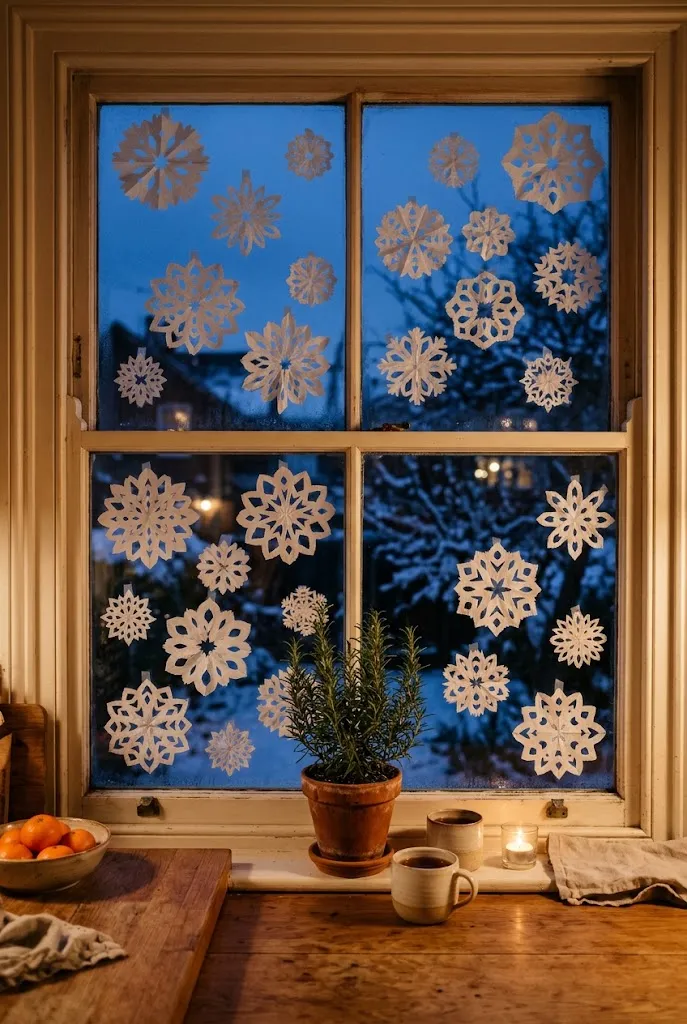
Cut paper snowflakes are inexpensive and cheerful, and they need nothing but paper and scissors. White printer paper is fine, but coffee filters give a softer, more delicate result. Stick them to the glass with removable tape or a little water on the back. A mix of large and small looks natural, and leaving gaps between them keeps the window from looking crowded.
Editor’s Note: Daylight makes paper snowflakes look flat, while evening light with a lamp behind them gives you the strongest effect. Try them on a window you see from the couch rather than one facing the street.
11. Make Faux Mercury Glass Votives
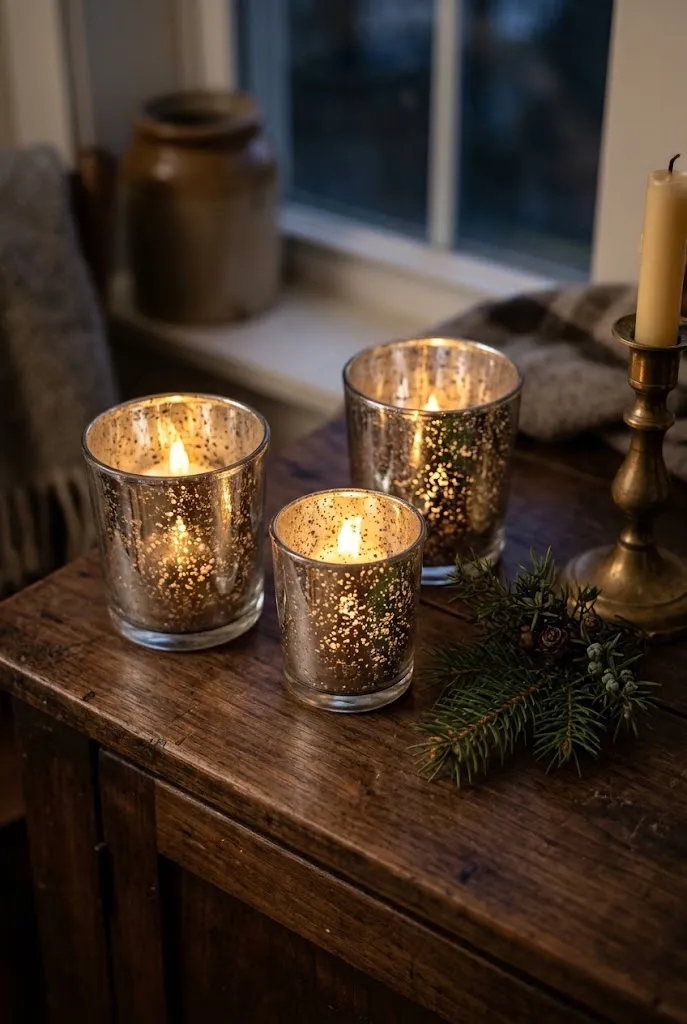
Mercury glass has a soft, silvery, aged finish that’s usually expensive. A spray mirror-effect paint and a spritz of a water-and-vinegar mix inside a clear glass jar can give a similar look. You spray the inside lightly, mist it, dab it, and repeat until you get the mottled appearance.
| Option | Effect | Best Fit |
|---|---|---|
| Spray paint finish | Even, mirror-like with mottling | Votives and vases |
| Silver leaf | Brighter, more reflective | Ornaments, small accents |
Use with LED candles. The look is decorative and not meant to handle real heat.
12. Set Floating Candles in a Cranberry Centerpiece
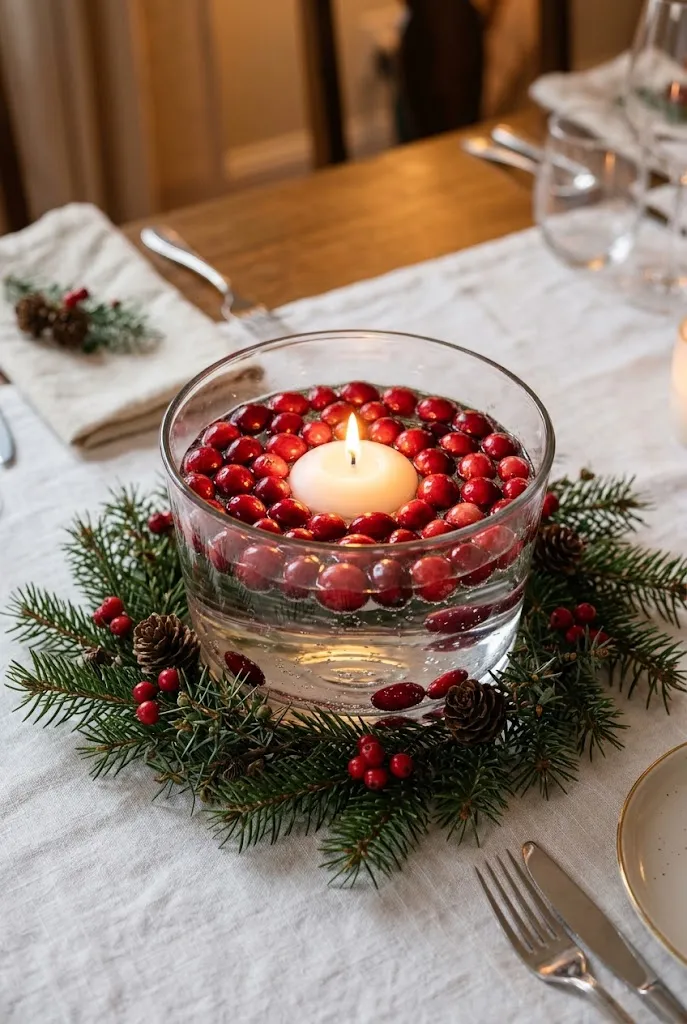
A clear glass bowl of water, a handful of fresh cranberries, and a floating candle make an easy centerpiece. Choose a bowl with enough width for the berries to float around the candle, and add a few evergreen sprigs at the base. It works best for a dinner or a gathering, and it’s easy to refresh.
Keep it low so guests can see across the table, and replace the water if it clouds after a few days. Never leave a lit candle unattended near greenery.
13. Wrap Vases in Old Sweater Cuffs
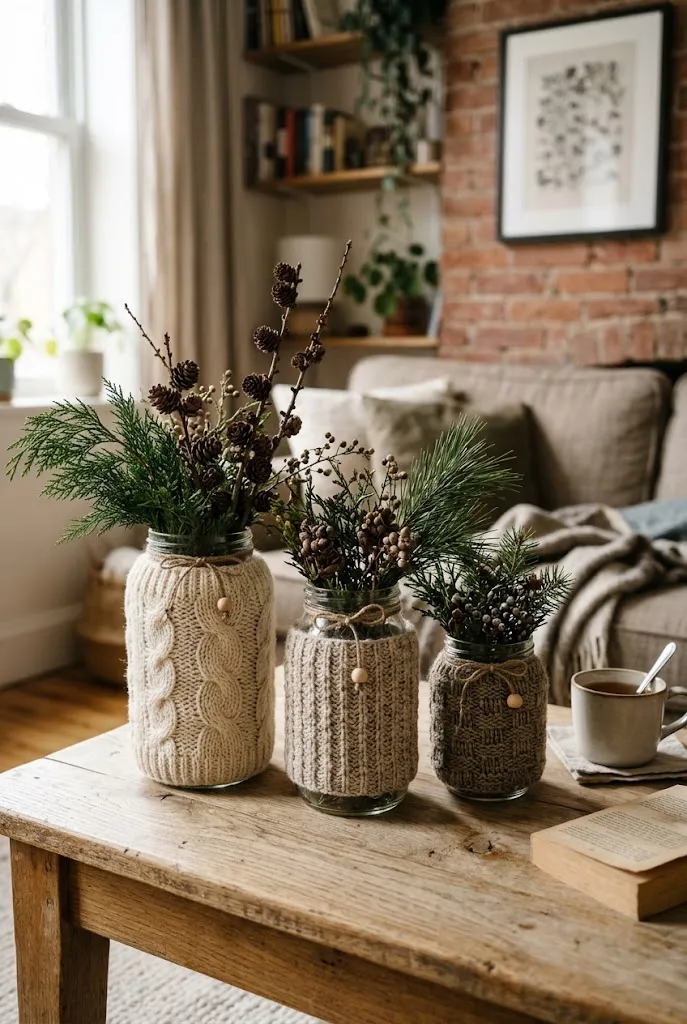
A sweater with a stretched neckline or a lost mate in the drawer can become cozy vase covers. Cut off a sleeve or the cuff, slip it over a jar or bottle, and fold the top over. Fill with cedar, pine, or dried stems. Chunky knits in cream or oatmeal look warmest, and a few different textures keep it interesting.
A secondhand sweater costs very little, and wool or wool blends hold their shape best. If the fabric is loose, a few stitches or a dab of fabric glue keeps it from sliding.
14. Set Up a Kraft Paper Gift-Wrapping Station
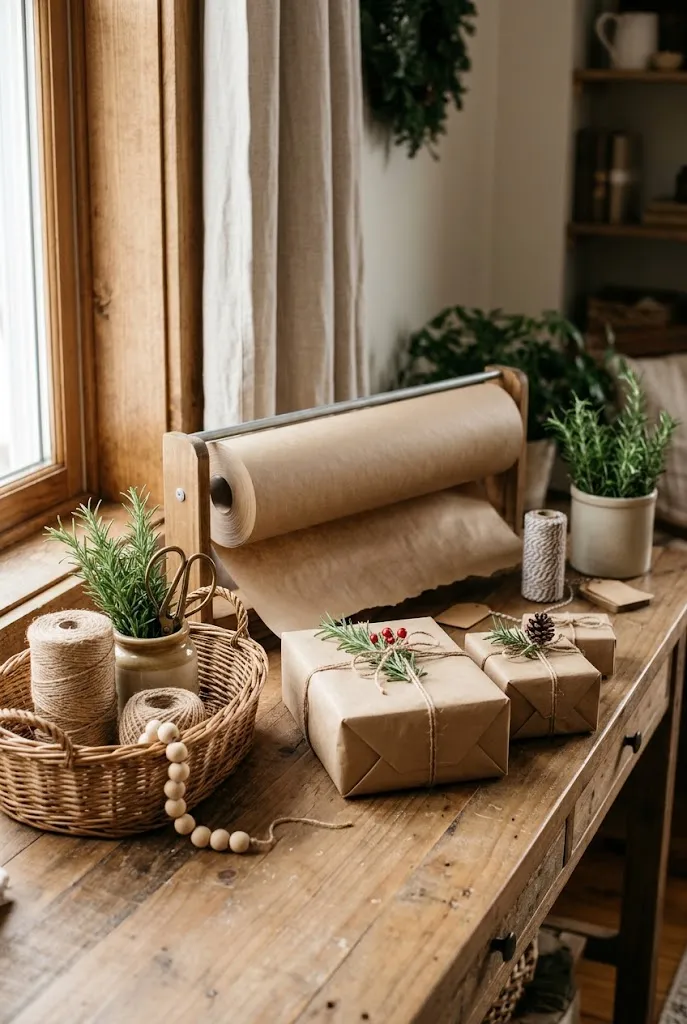
Wrapping with plain kraft paper, twine, and sprigs of greenery makes the packages part of the decor. Set up a corner or console with a paper roll, scissors, tape, and a basket of twine and clippings, and the wrapped gifts under the tree become one of the room’s most visible details.
- Tie each parcel with twine and tuck in a cedar or rosemary sprig.
- Add a hand-stamped or hand-drawn tag using a stamp or marker.
- Vary the ties: red twine, cream ribbon, and plain jute create variety without losing the look.
15. String a Wooden Bead Garland
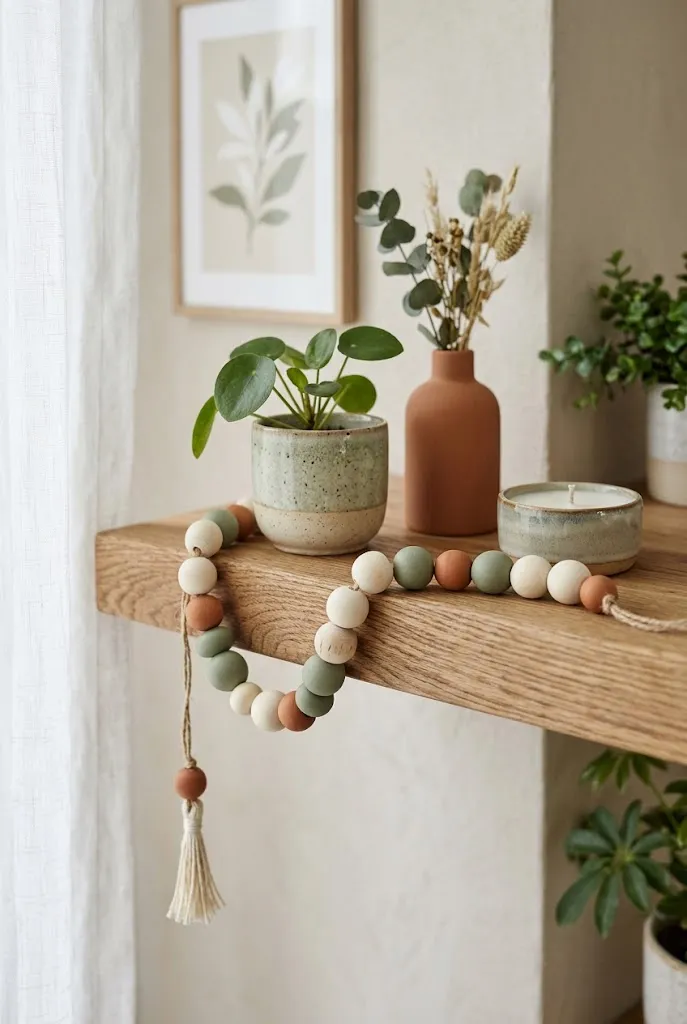
Wooden bead garlands look natural and handmade and suit Scandinavian and farmhouse rooms. Buy a bag of unfinished wood beads, paint a few in muted tones like sage, terracotta, and cream, and thread them onto thick cord with knots between clusters. Drape them across a mantel, over a tree, or down a shelf.
Tips & Tricks
- Plan your color pattern on a table first.
- Use a cord thick enough to hold knots and thread through the bead hole.
- Mix large and small beads to avoid a uniform look.
16. Build a Cardboard Gingerbread Village
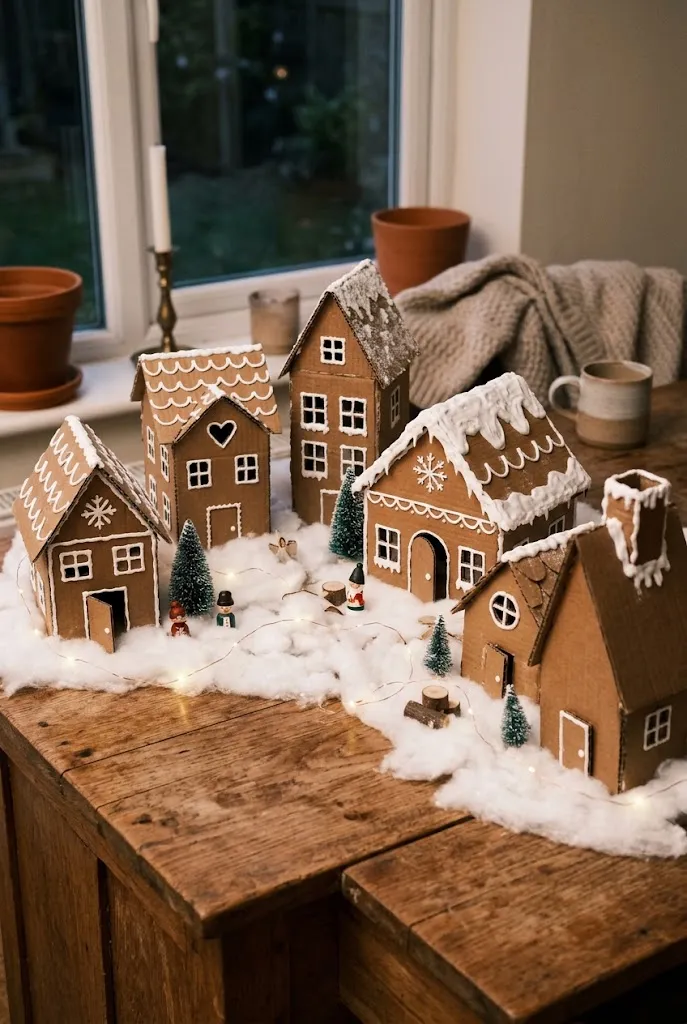
A cardboard village gives you the look of gingerbread houses without sugar, mess, or ants. Cut simple house shapes from recycled boxes, paint them in warm brown, then pipe or paint white “icing” details with puffy paint or thick acrylic. It takes some patience, but the pieces last many seasons.
A small tabletop village with five to seven houses looks better than a large one. Vary the roof shapes and heights, and line them up on a runner with a few faux snow tufts.
17. Hang an Envelope Advent Calendar on Twine
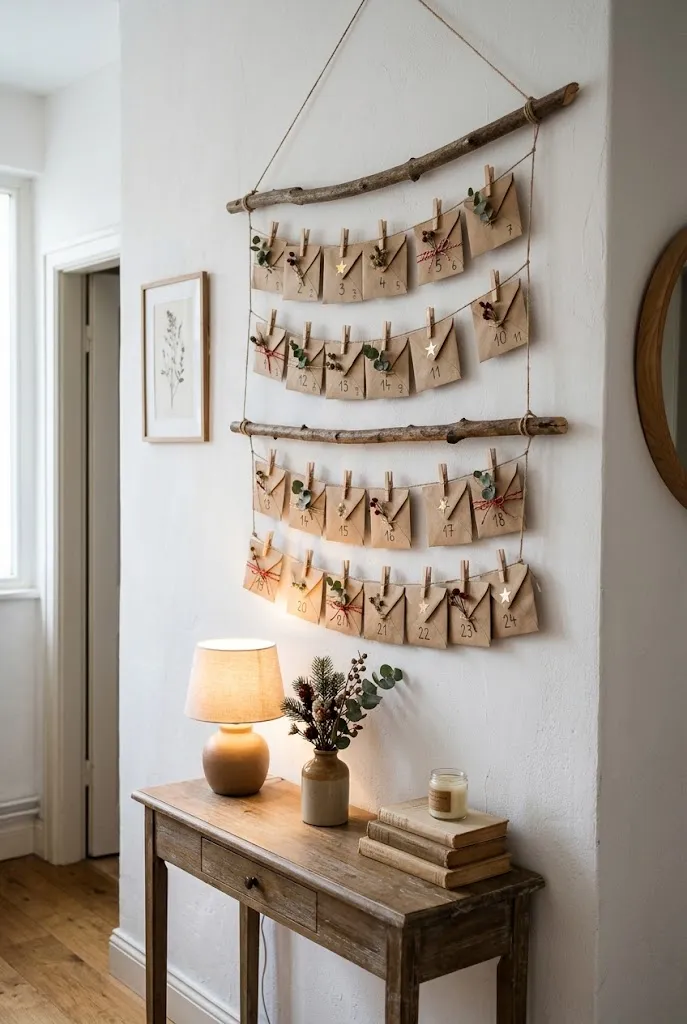
A twine advent calendar fits a hallway or a bare wall. Hang 24 small kraft envelopes or paper pouches from a branch or a length of twine with wooden clothespins, number each one, and slip in a note, a small treat, or an activity idea.
Plan the contents ahead so the days aren’t uneven. It’s easiest to batch the tags and envelopes in one sitting.
18. Fill a Tall Vase With Snow-Dusted Branches
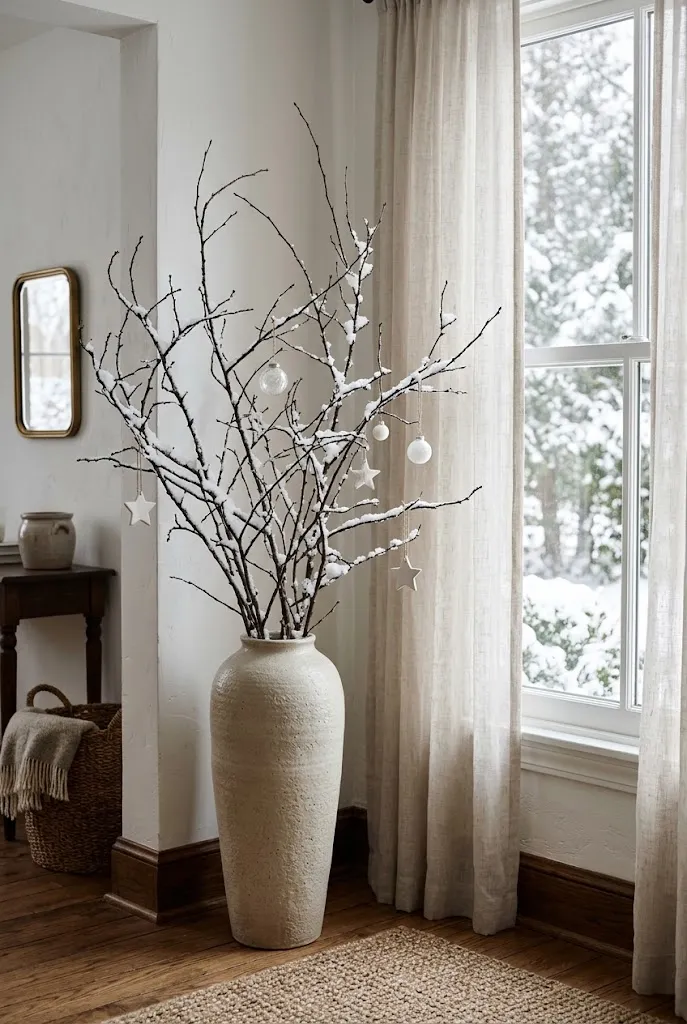
Bare branches in a tall vase are one of the simplest ways to bring height into a room. Dust them with a little white paint or a spritz of spray adhesive and a pinch of fine glitter or artificial snow, then add small ornaments or fairy lights.
The vase should be heavy enough to hold the branches without tipping. Floor vases work in an entryway corner, and shorter versions work on a dining table.
19. Turn Cookie Cutters Into Ornaments
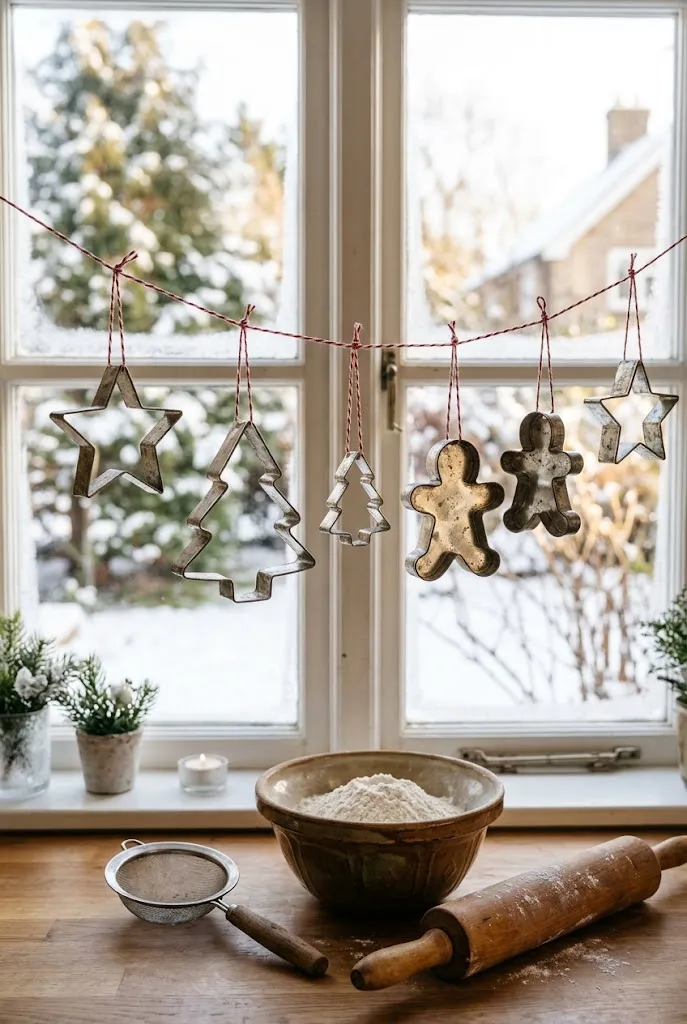
Metal cookie cutters are already shaped like holiday symbols, so they make ready-made ornaments. Thread them with ribbon or twine and hang them on a tree, a window, or a kitchen shelf. A mix of stars, trees, and gingerbread shapes in silver and copper looks tidy together.
Choose cutters without sharp edges facing out, and avoid hanging them where small children can reach.
20. Set the Table With Rosemary Sprig Place Settings
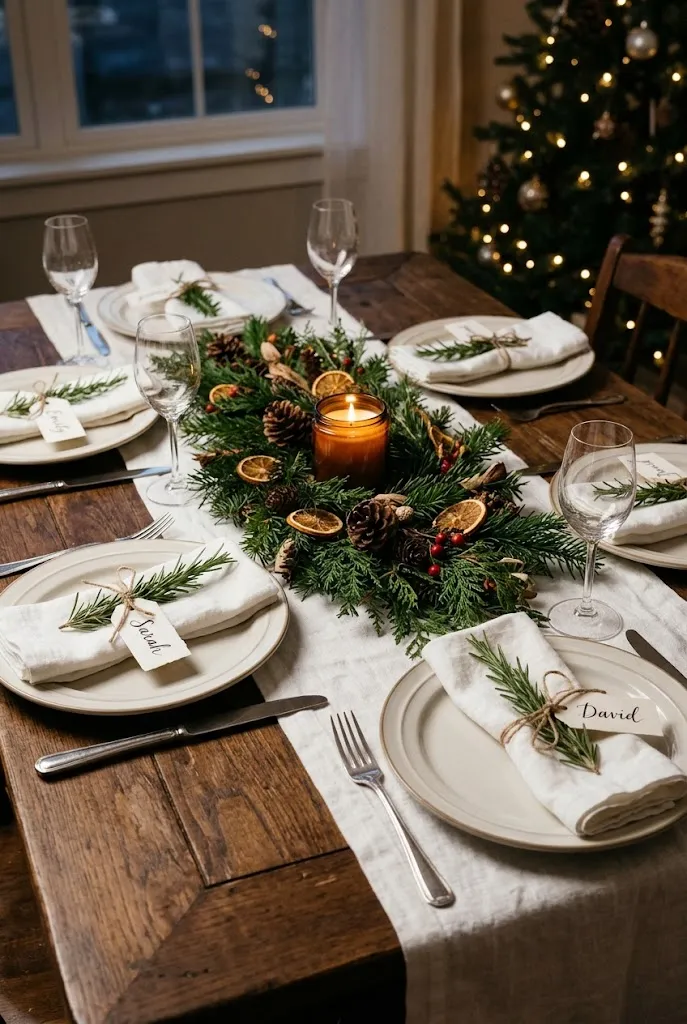
Fresh rosemary smells good and holds up well on a table. Tie a sprig into each napkin with twine, add a small tag with a guest’s name, and the table starts to look styled with almost no cost.
Best For: Dinner parties and holiday meals
Investment: Accessible
Visual Effect: Fresh and natural
Add a few more sprigs down the center of the table and one tall taper in a holder, and the whole setting stays cohesive.
21. Fill a Porch Urn With Evergreens and Birch Logs
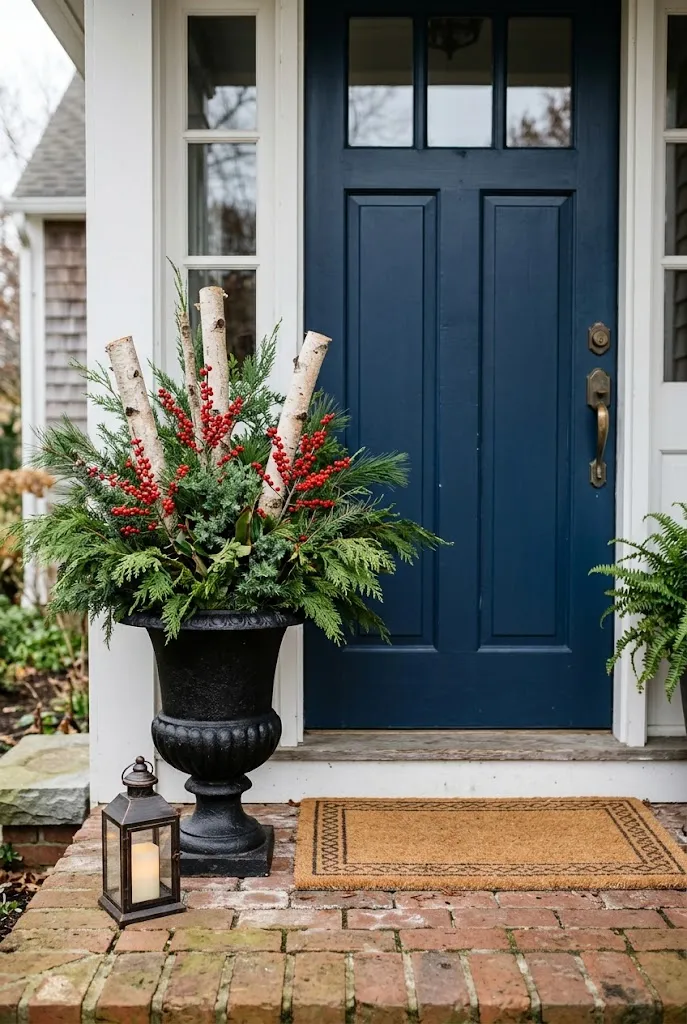
A porch urn filled with greenery and birch logs adds height at the entrance and works in cold weather. Fill the container with floral foam or wet sand, then add cedar, pine, and fir in a rough layered shape, and finish with cut birch branches for texture.
Common Mistake: Placing greens too neatly, which looks stiff.
Better Approach: Let some stems arc outward and vary the lengths so it looks natural.
Fresh cuttings in an unheated outdoor pot can last for weeks in cold climates and dry faster in mild ones.
22. Hide the Tree Stand With a Crate Collar
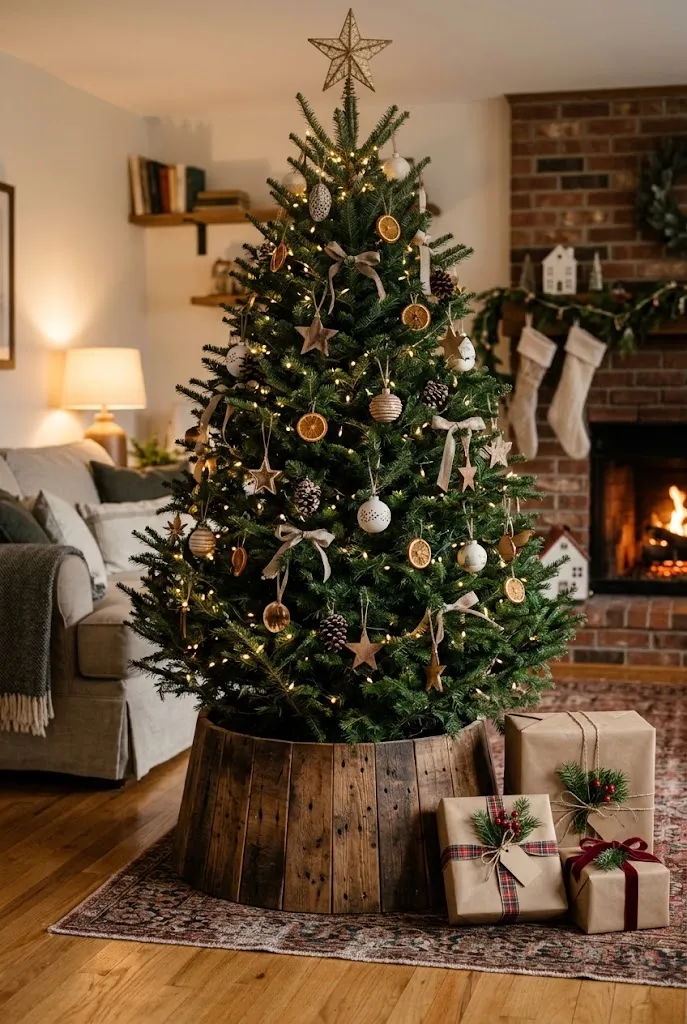
Plastic tree stands look better covered, and a rustic wooden collar does the job. Build a four-sided box from reclaimed boards or pine planks and screw the corners together. Keep it open at the top and wide enough for the stand and water reservoir.
Check that the collar leaves access to the water, since a real tree needs refilling. Sand the edges so they don’t catch the tree skirt or stockings.
23. Sew Felt Stockings From Fabric Scraps
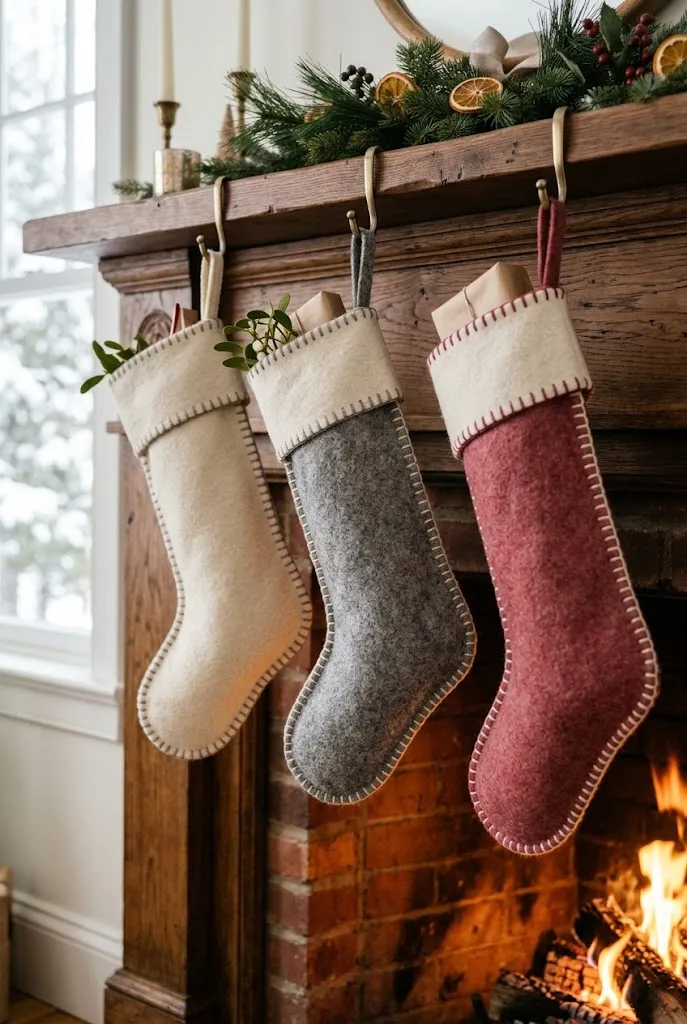
Felt and wool scraps become simple stockings with a cuff. Cut two matching shapes, stitch them together with a running or blanket stitch, and add a fold-over band in a contrasting color. Hand sewing keeps it relaxed, and a little embroidery on the cuff makes each one personal.
Quick Tip: Make a paper pattern first. It keeps matching stockings consistent.
24. Wrap Pillar Candles in Cinnamon Sticks
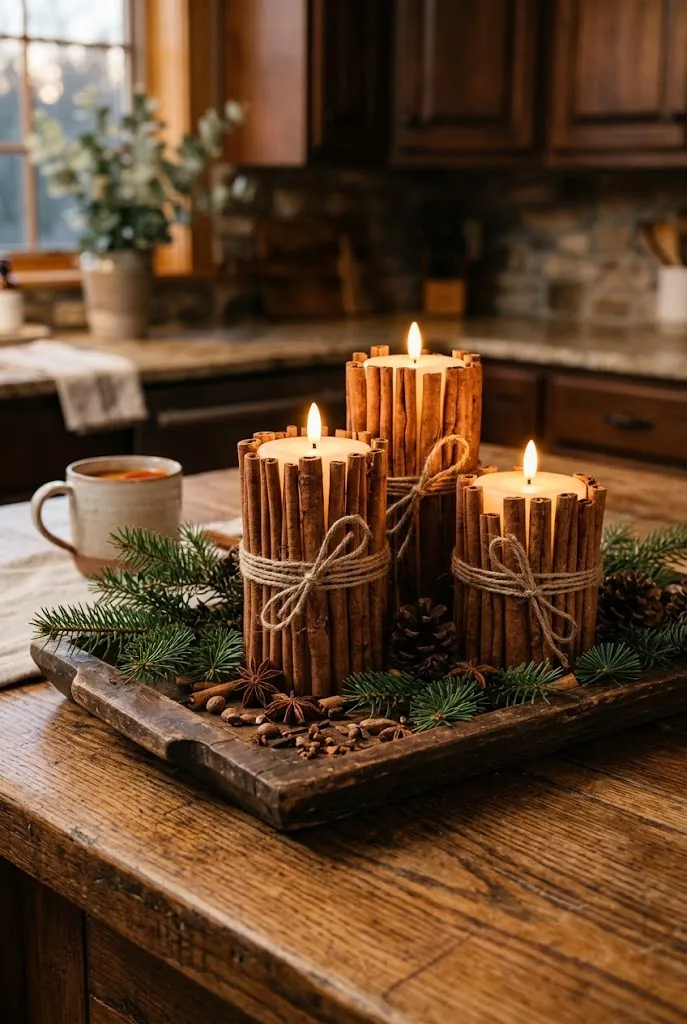
Gluing cinnamon sticks around a glass or LED pillar candle gives a warm, spiced look and a faint scent. Tie them with twine or ribbon, and group a few sizes together on a tray with greenery.
Use LED candles, or place a glass hurricane around a real flame. Cinnamon sticks and twine are flammable and should never sit against an open flame.
Safety Notes for Handmade Holiday Decor
Most of these projects are low risk. A few habits help:
- Use LED candles anywhere dried greenery, paper, or twine sits near light.
- Keep hot glue guns and craft knives away from children.
- Dry citrus and pinecones fully before displaying them.
- Keep real trees watered, and keep decorations clear of heat sources.