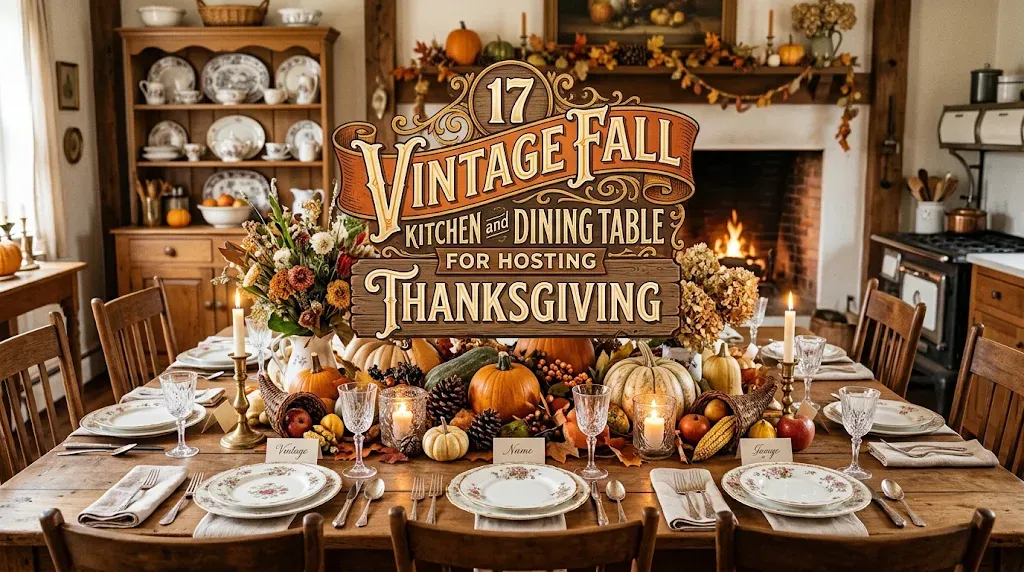
17 Vintage Fall Kitchen and Dining Table Decor Ideas for Hosting Thanksgiving
A vintage Thanksgiving table doesn’t need a matched set of anything. Its charm comes from the pieces that clearly came from somewhere else: a brown-and-cream platter from an estate sale, a brass candlestick with a soft patina, a linen cloth with years of washing behind it. Those layers make a table feel gathered rather than purchased.
These 17 vintage fall decor ideas cover both the kitchen, where the cooking happens, and the dining table, where everyone ends up. Some use thrift-store finds and things you may already own. Others involve a bit more investment, like an antique tureen or a refinished sideboard. Each one explains how to get the look, what to watch for, and how to keep it practical on a day when you’re also trying to get a turkey to the table.
1. Set the Table With Mismatched Vintage China
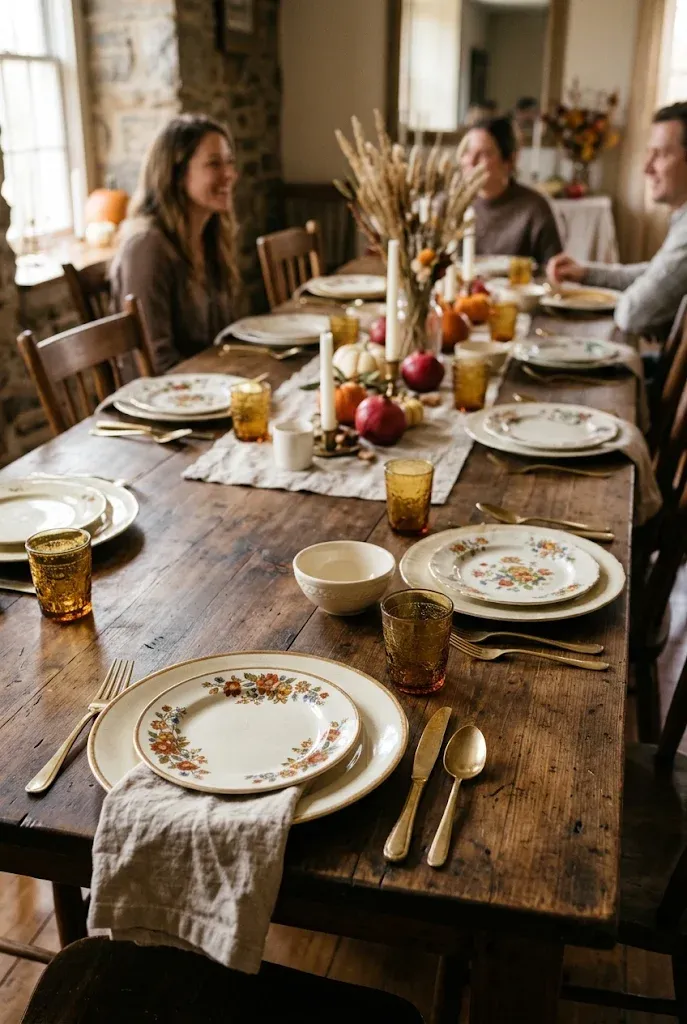
Matching sets can look rigid next to a crowd of dishes, candles, and elbows. A table of mixed vintage plates looks relaxed and collected, as long as something ties the pieces together.
Pick one unifying thread, such as a cream ground, a gold rim, or a warm color family of rust, olive, and ochre. Then let the patterns vary. Dinner plates can be the most consistent layer, while salad plates and bowls bring in the variety.
- Keep plate sizes close so place settings sit evenly.
- Stay within two or three color families.
- Alternate patterns seat by seat rather than grouping them.
- Add plain white or ivory pieces if the patterns get busy.
Editor’s Note: Vintage glazes and painted decoration can contain lead. If you can’t confirm a piece is food-safe, use it for display, or as a charger under a modern plate.
2. Layer Brown Transferware Over a Plain Table
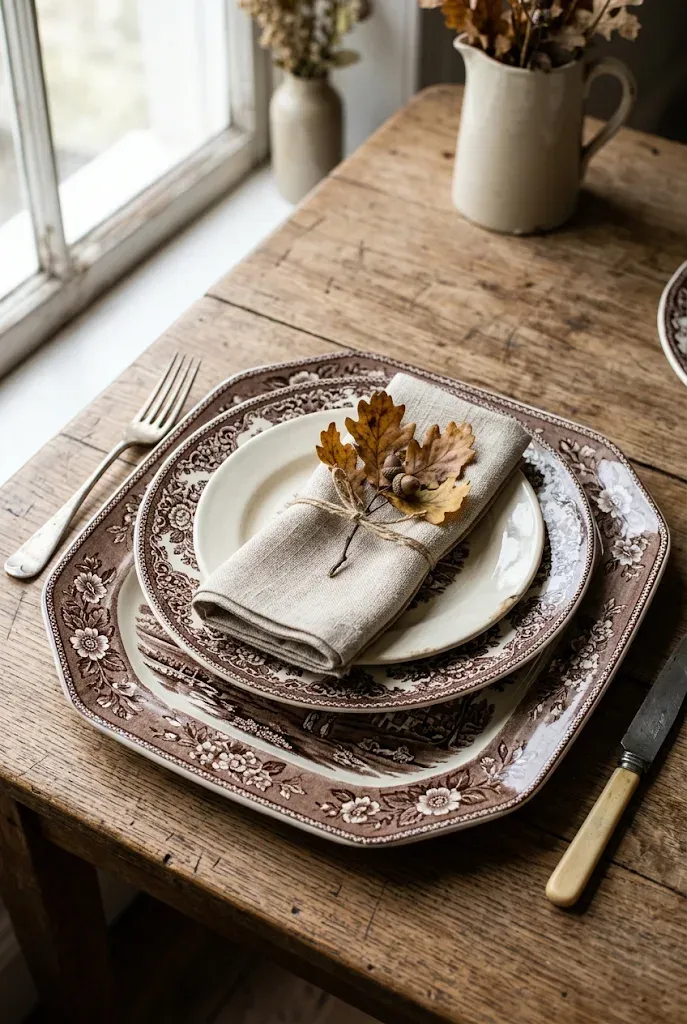
Brown transferware, the old-fashioned plates with detailed scenes in a single deep color on a cream ground, matches fall’s palette almost by default. The one-color printing reads as a pattern from a distance and as fine detail up close.
Build a stack at each seat: a larger platter or charger, a transferware dinner plate, then a plain salad plate on top. Because the pattern is so detailed, it works best against a quiet background such as natural linen or bare wood.
| Table Surface | Effect | Best Fit |
|---|---|---|
| Bare, lightly worn wood | Warm, casual, shows off the plates | Farmhouse and cottage rooms |
| Undyed linen cloth | Softer and more formal | Traditional dining rooms |
| Deep green or burgundy runner | Richer contrast | Smaller tables with moodier walls |
If you’re collecting pieces, mix a few from the same color family rather than hunting for a full set. A few platters and a soup tureen can cover the table by themselves.
3. Line the Table Center With Amber and Smoky Glass Candlesticks
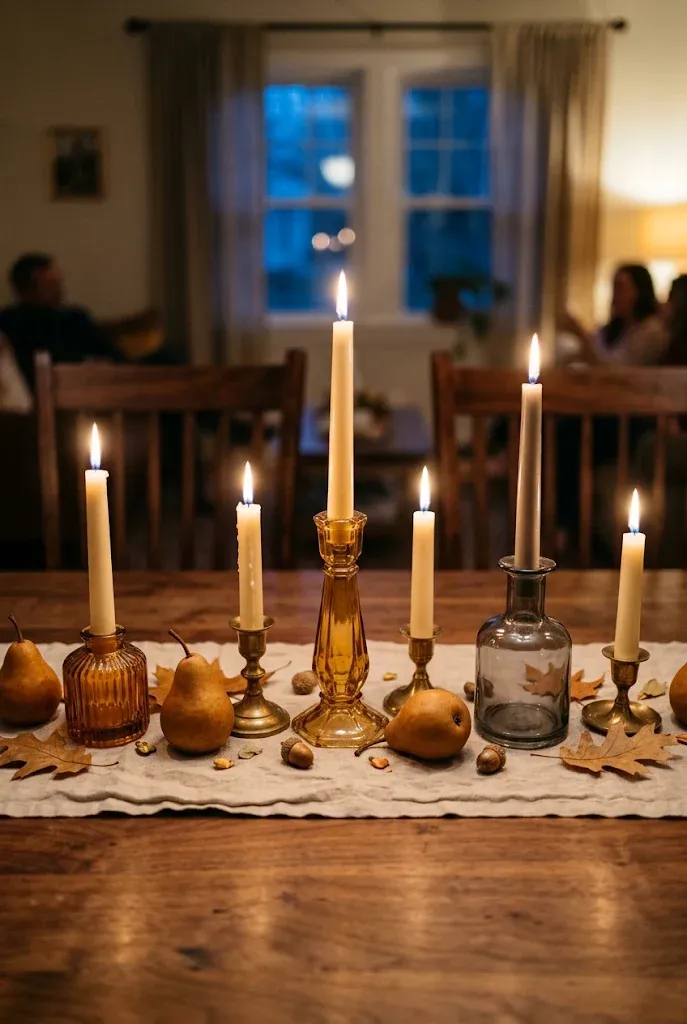
Instead of one large centerpiece, a row of low-to-medium candleholders in amber, honey, and smoke gray gives the table a lit spine that doesn’t block anyone’s view across it. Glass in these tones catches the flame and spreads it into warm pools of color.
Use tapers in simple holders of different heights, and keep every flame well clear of dried leaves, paper, and fabric. Where open flames feel risky, battery candles with a warm flicker give much the same effect.
Quick Tip: Keep the tallest candlestick under roughly 10 inches, or tall enough to sit well above eye level, so guests can talk across the table. The awkward middle height is what blocks sightlines.
4. Use Antique Linens, Mends and All
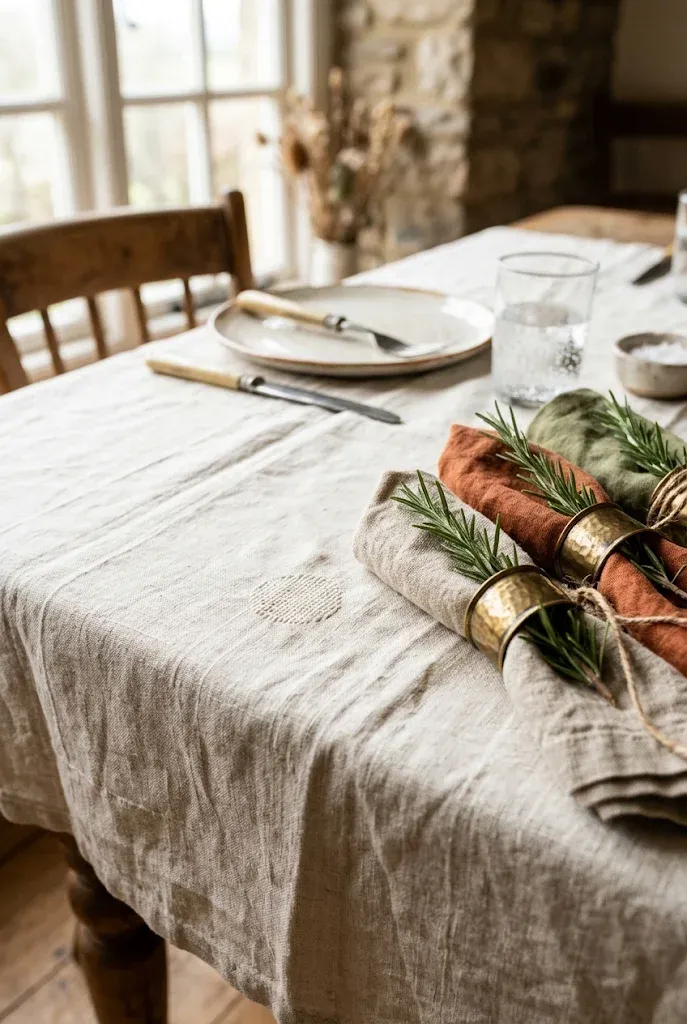
Old linen and cotton tablecloths often have a drape that newer ones lack, and small marks or hand mends add to the look rather than detracting from it. A cream or oatmeal cloth lets the fall colors in the dishes and food do the work.
Cloth napkins add a layer of softness in a way paper can’t. Mixed vintage napkins in cream, rust, and faded olive work well, and they don’t need to match as long as the palette stays close.
- Wash gently and test a hidden corner first, as old fabrics can be fragile.
- Press while slightly damp to bring back the drape.
- If a stain won’t lift, place a runner or a plate stack over it.
- Tuck folded napkins under a sprig of rosemary or into a vintage brass napkin ring.
5. Hang Copper Molds on the Kitchen Wall
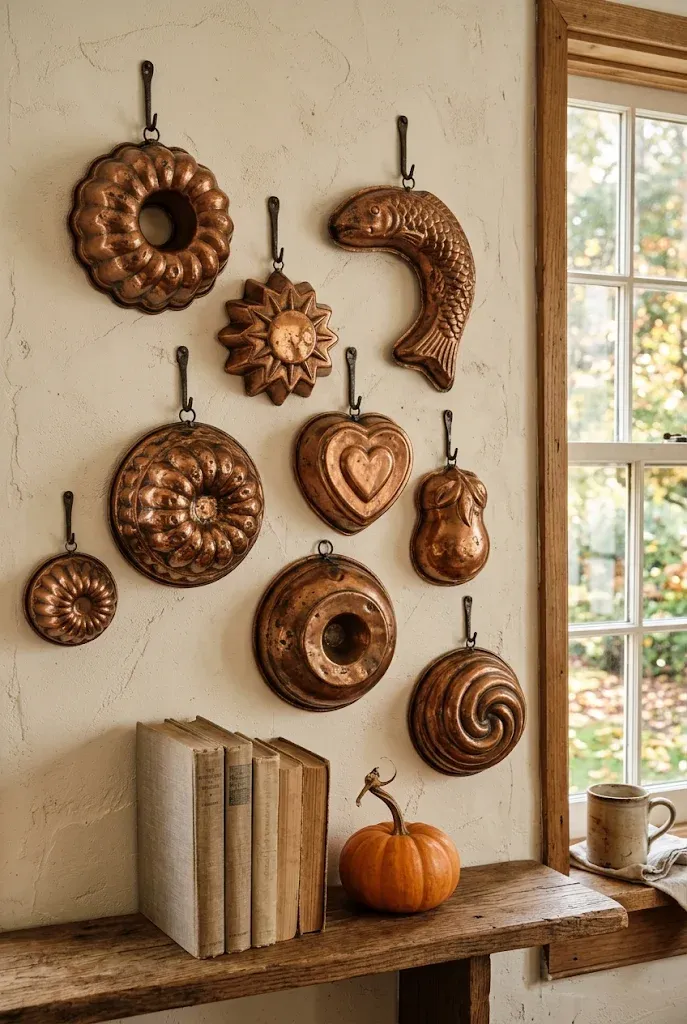
Copper picks up the glow of autumn light, and a small group of old molds on a kitchen wall gives a plain backsplash area a warm, collected feel. Mixed shapes work better than a perfect grid.
Hang them in a loose cluster around a window or above a range hood, starting with the largest. Leave a little negative space between pieces so each shape reads on its own.
Common Mistake: Hanging pieces too close to a cooking surface where grease and steam build up.
Better Approach: Keep decorative copper a few feet from the burners, and consider a wall beside the range or a sideboard wall in an adjoining dining area. It will stay cleaner and need less polishing.
Many vintage copper molds are tin-lined or aged inside, so treat them as display pieces unless you know otherwise.
6. Fill Enamelware and Crocks With Small Pumpkins
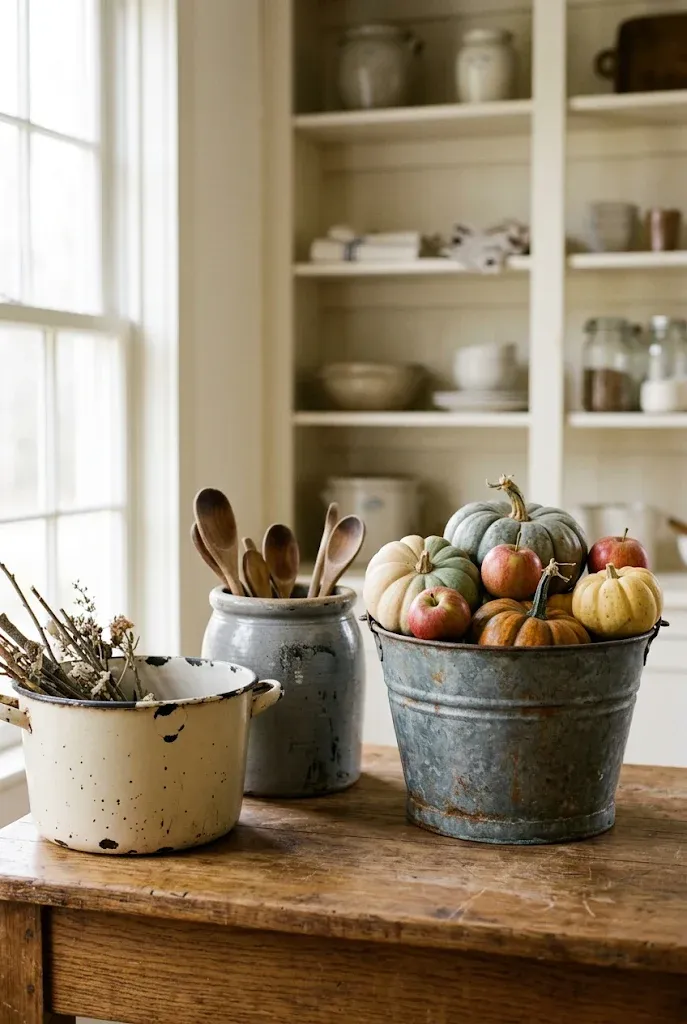
Speckled enamelware pots, old stoneware crocks, and chipped metal buckets make better vessels for fall produce than anything bought for the purpose. Their worn surfaces suit pumpkins, gourds, and apples, and they look at home on a counter or a floor beside a hutch.
Choose pumpkins in muted tones such as cream, soft green, and blue-gray along with orange, so the arrangement feels less like a store display. Group in odd numbers and vary the heights.
- Line the bottom of metal containers with a small plate or saucer to prevent rust marks on counters.
- Use hay or dried moss to pad uneven gaps.
- Cut stems cleanly rather than breaking them off.
This is a good idea for rentals and small kitchens, since nothing is fixed to a wall or surface.
7. Spill a Woven Cornucopia Across the Table
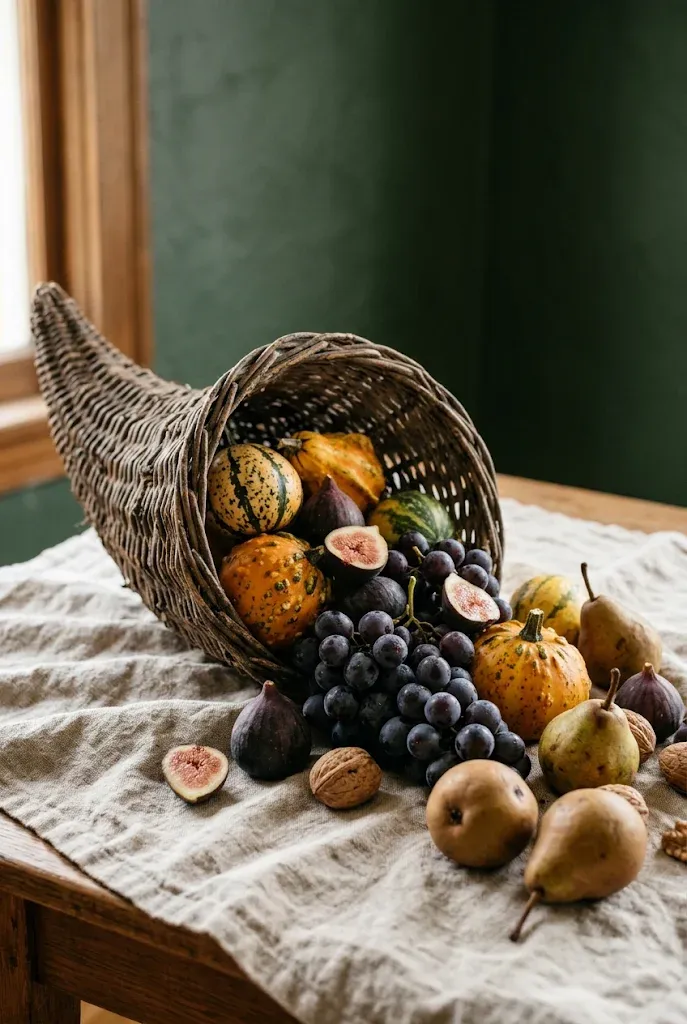
A cornucopia is old-fashioned in the best sense, and a real woven basket shaped like a horn of plenty gives the table an authentic historical reference without feeling costumed. Choose a natural, slightly weathered basket and fill it with real produce rather than plastic fruit.
Let the produce spill onto the table in a loose line: small gourds, grapes, figs, pears, and walnuts. Tuck in a few dried leaves for color.
Tips & Tricks
- Prop the basket mouth on a folded towel so it tilts toward the table.
- Use sturdier produce at the base and delicate fruit at the edge.
- Skip anything that will bruise quickly if the table is prepared a day ahead.
- Keep it low enough that guests can see across it.
8. Show Off Pewter and Brass on a Buffet
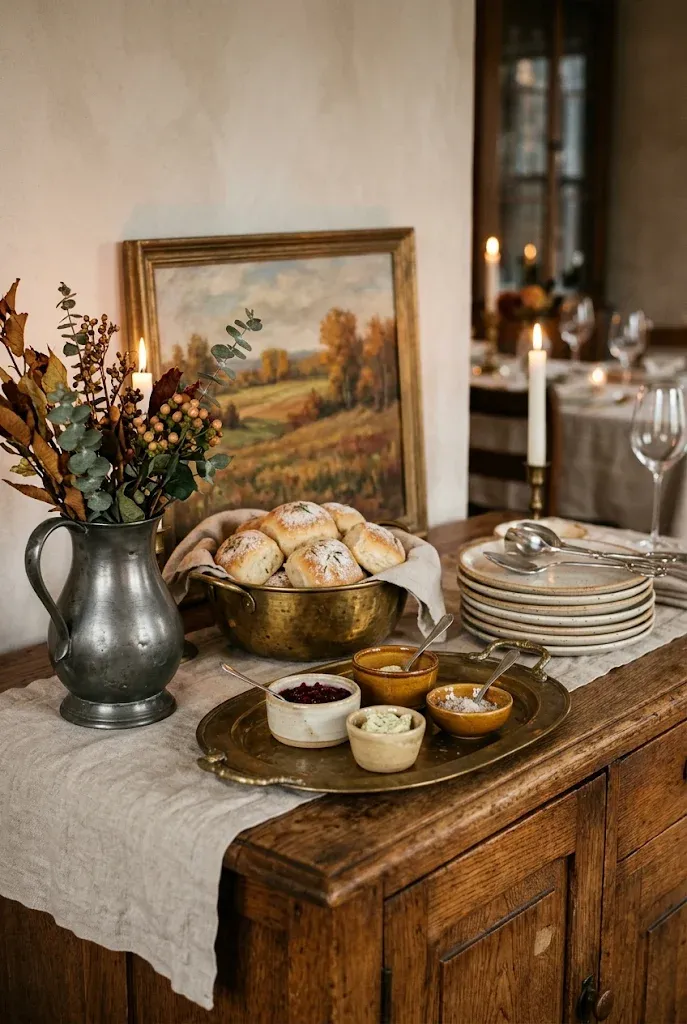
Pewter’s soft gray and brass’s warm gold look good together, especially in low light. Gathered on a sideboard or kitchen buffet, they make a serving area that feels like it has been in the family for years, even if every piece came from a thrift store.
Use them as working pieces where safe: a brass bowl for rolls, a pewter pitcher for water, a small brass tray under condiments. A cloth runner underneath prevents scratches.
| Material | Look | Care Note |
|---|---|---|
| Brass | Warm, golden, can develop patina | Polish lightly or leave aged for a softer look |
| Pewter | Cool, quiet gray | Avoid harsh abrasives and long contact with acidic foods |
Keep the arrangement to two or three heights so the buffet looks organized rather than crowded.
9. Tie Dried Wheat Into Bundles for a Stoneware Pitcher
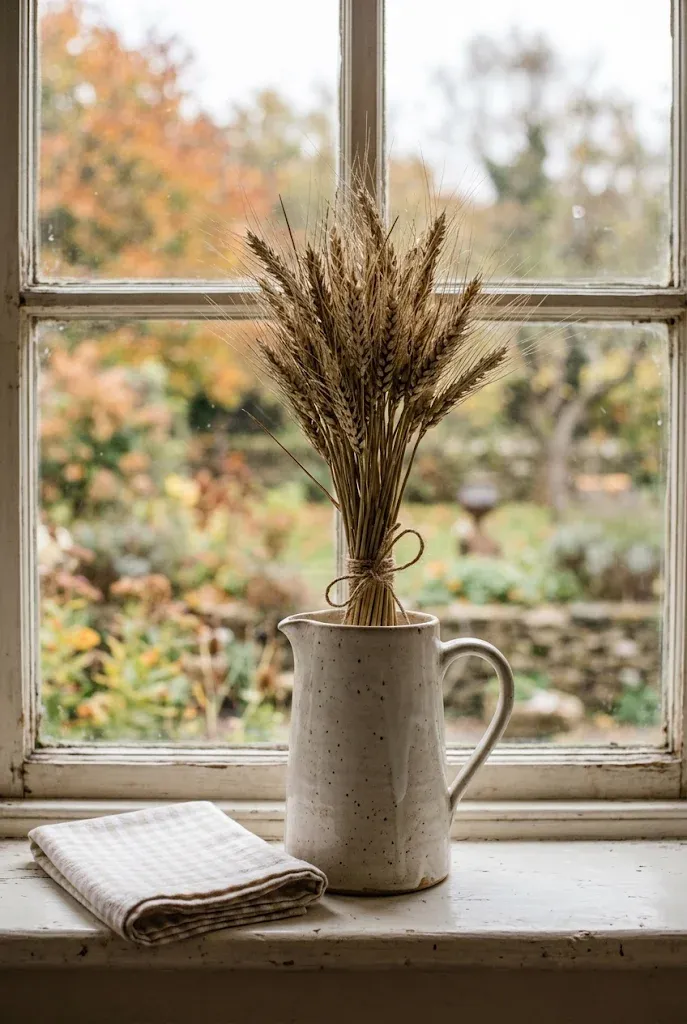
Dried wheat, oats, or other grasses in a plain stoneware pitcher have an old harvest-festival simplicity that matches vintage dishes beautifully. The soft tan color works with almost every other fall tone, and it takes up little room on a crowded table.
Use a heavy pitcher so tall stems don’t tip it, and keep the arrangement narrow. For a table centerpiece, aim for a height that sits below eye level, or place the pitcher on a kitchen counter or window sill where tall arrangements won’t block conversation.
Quick Tip: Wrap a twist of twine around the bundle just under the heads, and trim stems at an angle so they sit evenly.
10. Turn Old Cutting Boards Into a Kitchen Gallery Wall
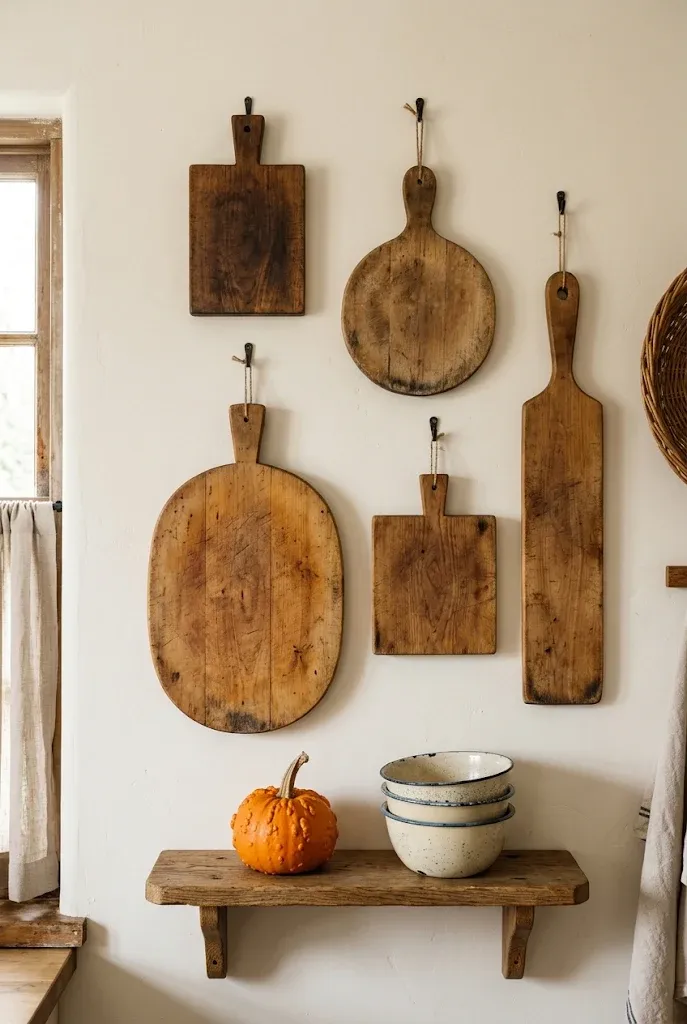
Worn bread boards, paddles, and cutting boards carry decades of use in their grain, and leaning or hanging a few in the kitchen gives a plain wall instant history.
Group three to five in different shapes and lengths. Mix wood tones from honey to deep brown, and add one or two round boards for contrast with the rectangles. A small shelf below holds a pumpkin or a stack of dishes.
- Lay the boards on the floor first and arrange them until the spacing looks balanced.
- Mark hanging points, using the existing hanging holes where there are any.
- Hang the largest board first, then build outward.
Boards used for display don’t need to be sanded smooth, but wiping with a little food-safe mineral oil brings the grain forward.
11. Make Place Cards From Old Botanical Prints
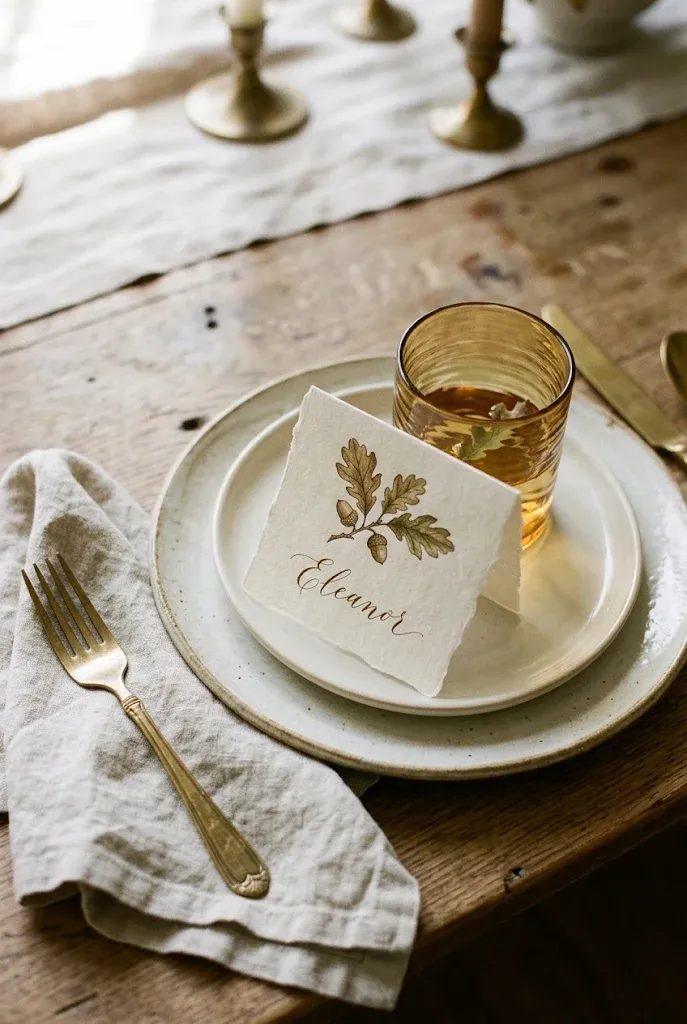
Vintage botanical illustrations of leaves, acorns, apples, and berries make elegant place cards without much work. If you have inexpensive reproduction prints, an old botanical book that is already damaged, or high-quality copies of public-domain illustrations, you can cut them into small cards.
Fold a piece of cream cardstock, glue a small trimmed print to the front, and write each guest’s name by hand on the card. Leaning a card against a glass or tucking it into a napkin ring keeps it visible.
- Choose one subject per table: all leaves or all fruit.
- Use a fine pen in brown or black ink.
- Print copies instead of cutting an irreplaceable original.
It’s a small project that adds personality, and it’s easy to prepare ahead.
12. Display Milk Glass and Pressed Glass on Open Shelves
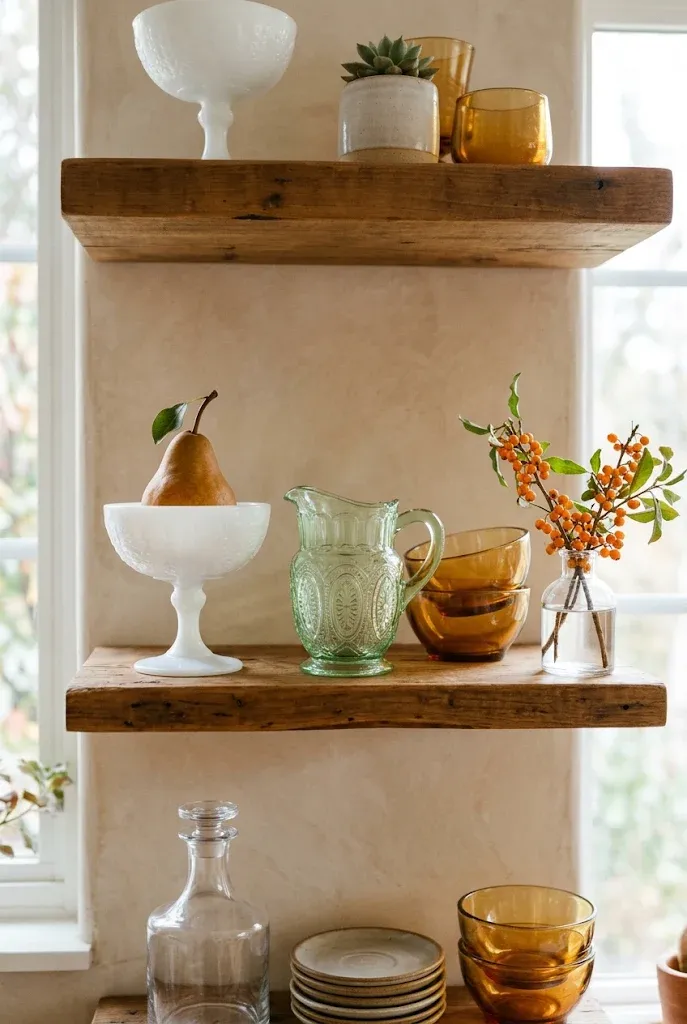
Open kitchen shelves have more personality when they hold glass that catches the light. Milk glass in white or pale green looks soft against fall colors, while pressed glass in amber or clear adds sparkle.
Keep the shelf calm: one color family per shelf, a few large pieces for scale, and some empty space so each piece reads separately. Add a few small seasonal touches, such as a pear in a compote or a sprig of bittersweet in a bud vase.
Do: Group pieces by color or form, and allow breathing room.
Don’t: Fill every inch of the shelf. Crowded glass looks like clutter instead of a collection.
13. Pile Pears and Apples in a Pedestal Compote
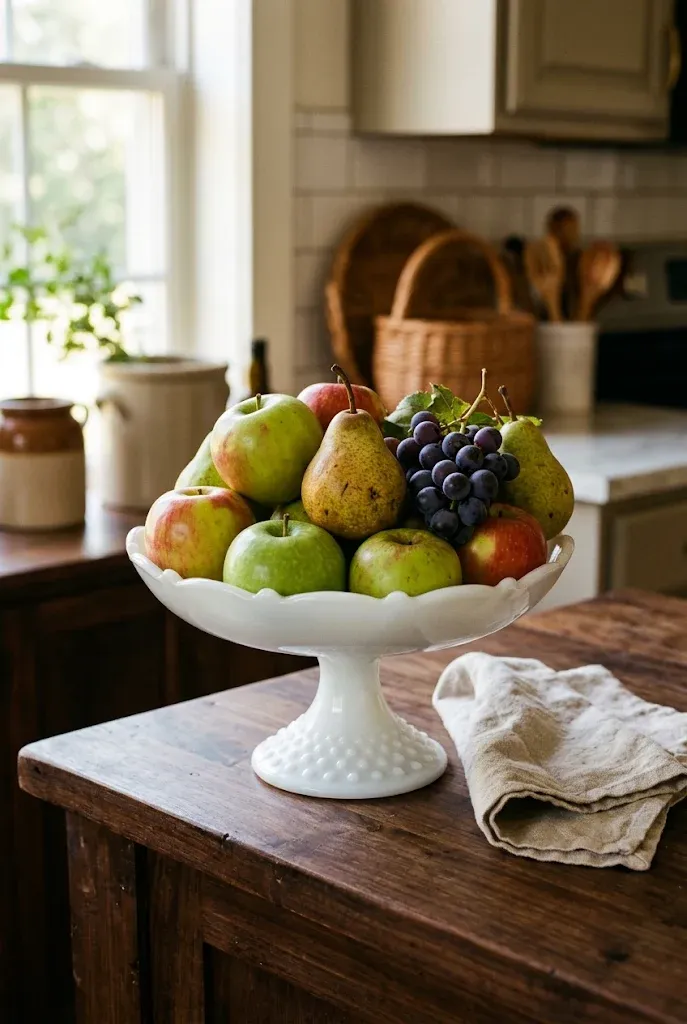
A footed bowl lifts fruit above the table surface and turns an ordinary harvest into a centerpiece. It works best in milk glass, silver plate, or old stoneware, and one will often cost little at a thrift store or antique mall.
Use fruit that holds its shape: firm pears, apples in mixed reds and greens, and a few clusters of grapes at the rim. Add a few leaves tucked in to break up the roundness.
Because the bowl is already elevated, keep the fruit mounded low and compact. That leaves the sightlines open and lets guests actually eat the display afterward.
14. Serve From an Antique Soup Tureen
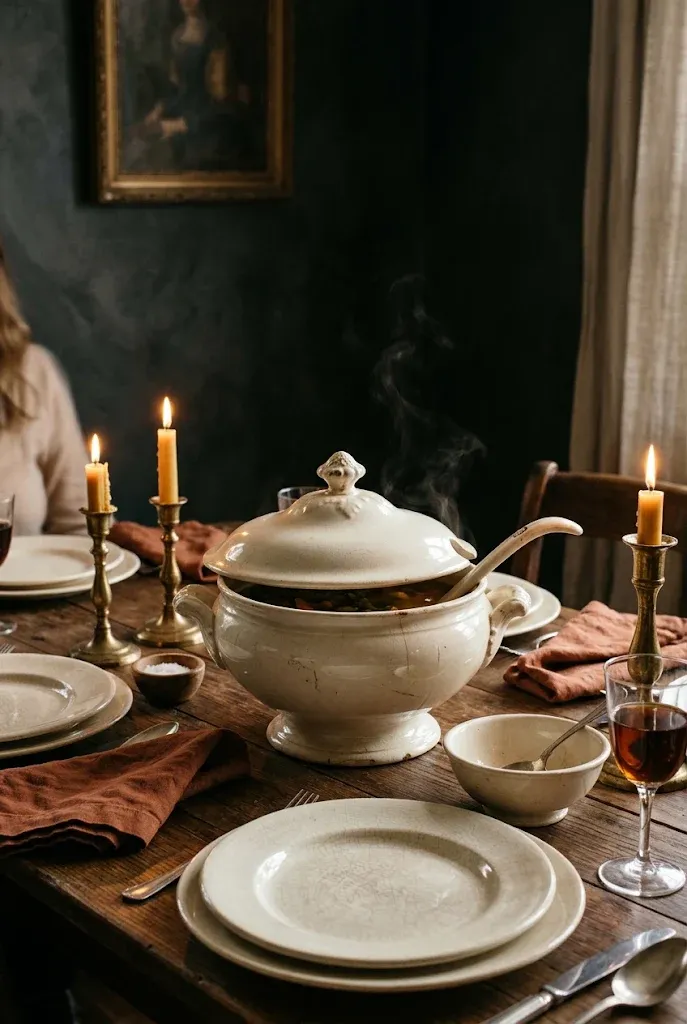
A large tureen with a lid has real presence on a table, and it holds soup, gravy, or stuffing practically as well as decoratively. Ironstone, white or cream, suits a vintage look and sets off the colors of the food.
This is a mid-range to premium idea, as good antique tureens can cost a fair amount, and not every piece is safe for hot food. If a tureen is too delicate or its glaze is uncertain, use it as the centerpiece and fill it with fruit or branches instead.
Editor’s Note: Place a trivet or folded cloth under any ceramic that will hold hot liquid, and keep older pieces away from sudden temperature changes.
15. Run a Foraged Leaf Garland Down a Bare Wood Table
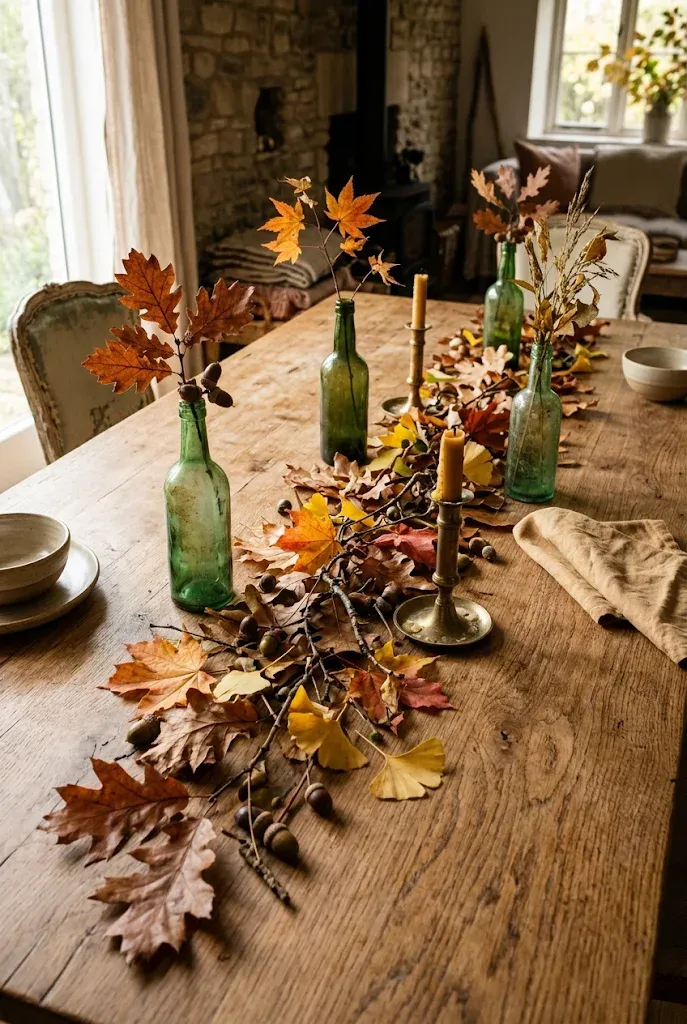
Sometimes the simplest approach is to leave a wooden table uncovered and add a loose line of leaves, acorns, and small branches along the center. Oak, maple, and ginkgo leaves each bring different shapes and colors, and fresh ones last for a day or two.
Add a few vintage touches: brass candlesticks, a small pewter dish, and a couple of old glass bottles with a single stem each. The wood does the work of grounding everything.
- Choose leaves that are pliable rather than dry and crumbly.
- Press them flat under a book overnight for a neater line.
- Keep candles away from the leaves, or use battery candles.
- Gather and replace any leaves that wilt before guests arrive.
16. Set Up a Retro Casserole Station in Harvest Colors
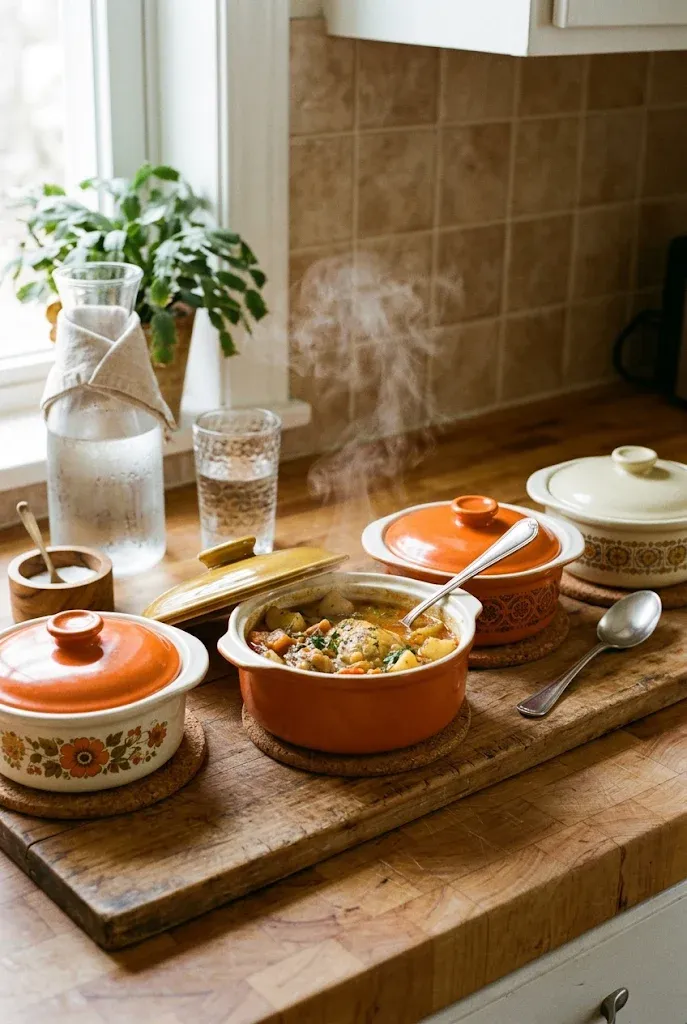
Mid-century casserole dishes and bakeware in harvest oranges, golds, and creams are still easy to find secondhand, and they suit side dishes perfectly. A row of them on a kitchen counter or buffet makes a ready-made serving line in the same color family.
Group the dishes by color and set them on a wooden board or runner so the surface stays tidy. Cover with lids or foil until serving time, and place a serving spoon beside each one.
Common Mistake: Putting hot dishes straight onto a vintage wooden surface or a delicate cloth.
Better Approach: Keep trivets, cork mats, or folded towels in reach. They protect the surface and can be part of the look in woven rattan or old metal.
17. Build a Dessert Sideboard With Cake Stands and Pie Plates
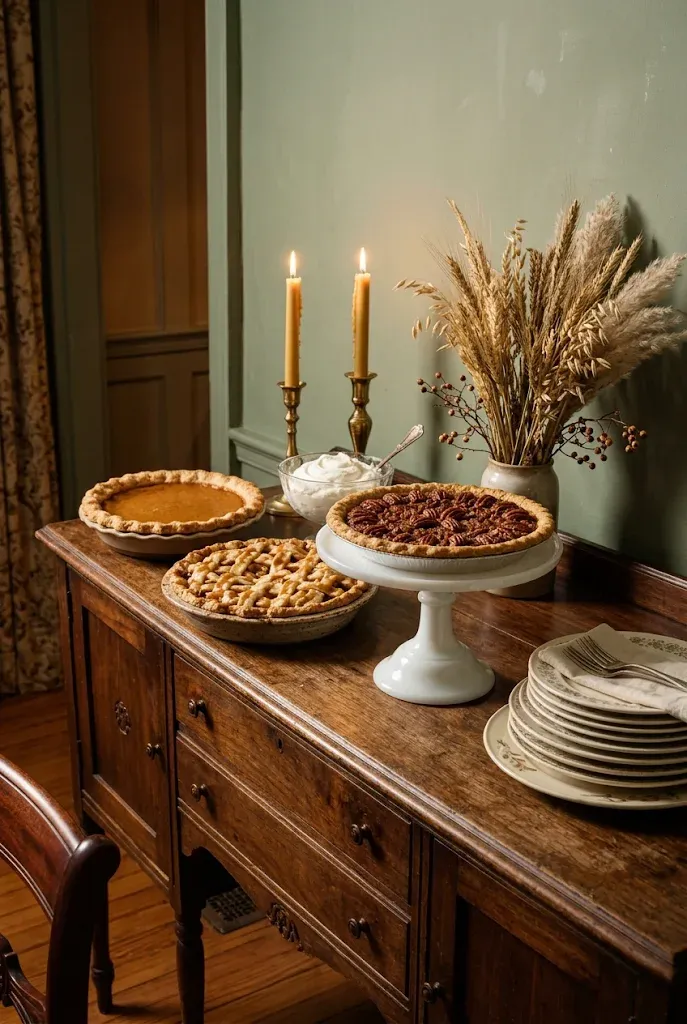
A refinished vintage sideboard makes a good dedicated dessert station, and it keeps dessert off the dining table. This is the most aspirational idea here, since a quality antique or well-restored piece is a real purchase, but the styling principle works on any buffet, cabinet, or sturdy console.
Use cake stands at different heights, with pies in old ceramic plates, a bowl of whipped cream, and a stack of small plates. Add a brass candlestick or a vase of dried grasses for height at the back.
- Vary heights with stands and upturned bowls under cloths.
- Keep the palette warm: cream, brown, amber, and one deep accent such as burgundy.
- Place forks and napkins at the front edge.
Editor’s Note: If a piece has an old finish, place a runner or board under anything hot or wet, and avoid sliding heavy dishes across the surface.
Putting It Together
You don’t need all 17 ideas. Pick one anchor for the dining table, such as mixed china, transferware, or a bare table with leaves, and one anchor for the kitchen, such as copper, cutting boards, or open glass shelves. Add a few small details like place cards, amber candles, or a fruit bowl, and stop when the space still has room to breathe.
Shop secondhand early in the fall, when thrift stores and estate sales have the widest selection. Test the layout a few days before the meal so you know where serving dishes will go.