
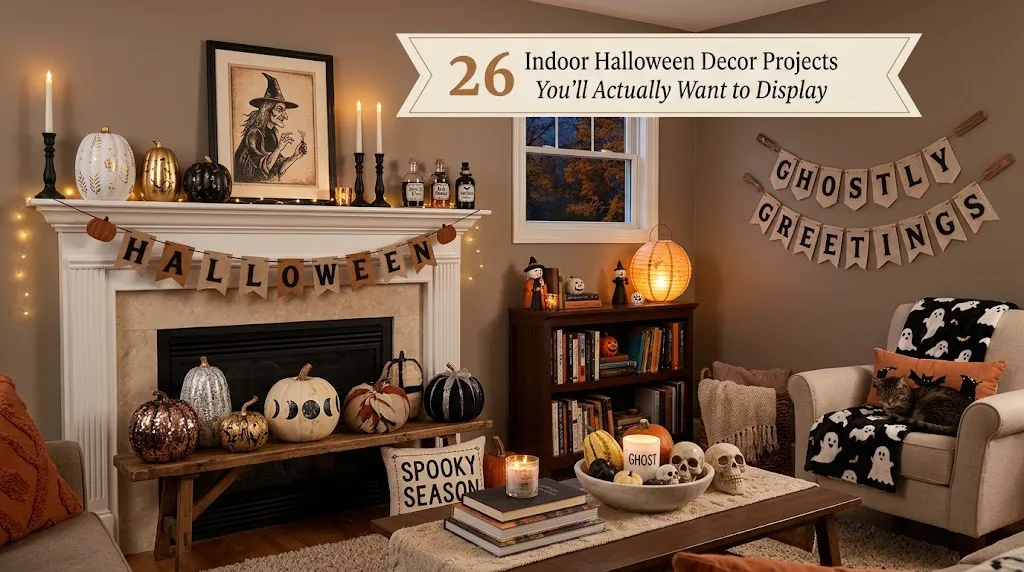
26 Indoor Halloween Decor Projects You’ll Actually Want to Display
Most Halloween decorations get shoved into a bin on November 1st and forgotten. The ones worth keeping tend to have something in common: they look considered, they use real materials, and they fit the way you actually live in your home. That’s the idea behind these 26 indoor Halloween decor projects.
Some take twenty minutes and a pack of cardstock. Others need a weekend, a can of spray paint, and a little patience. A few lean cozy and harvest-warm, while others go moody and gothic, so you can pick the tone that suits a mantel, bookshelf, dining table, or apartment window. Where a project involves heat, paint fumes, or anything near a flame, the notes below flag it. Pick two or three that suit your space, gather supplies, and start building.
1. Hang a Paper Bat Cascade Up the Stairwell
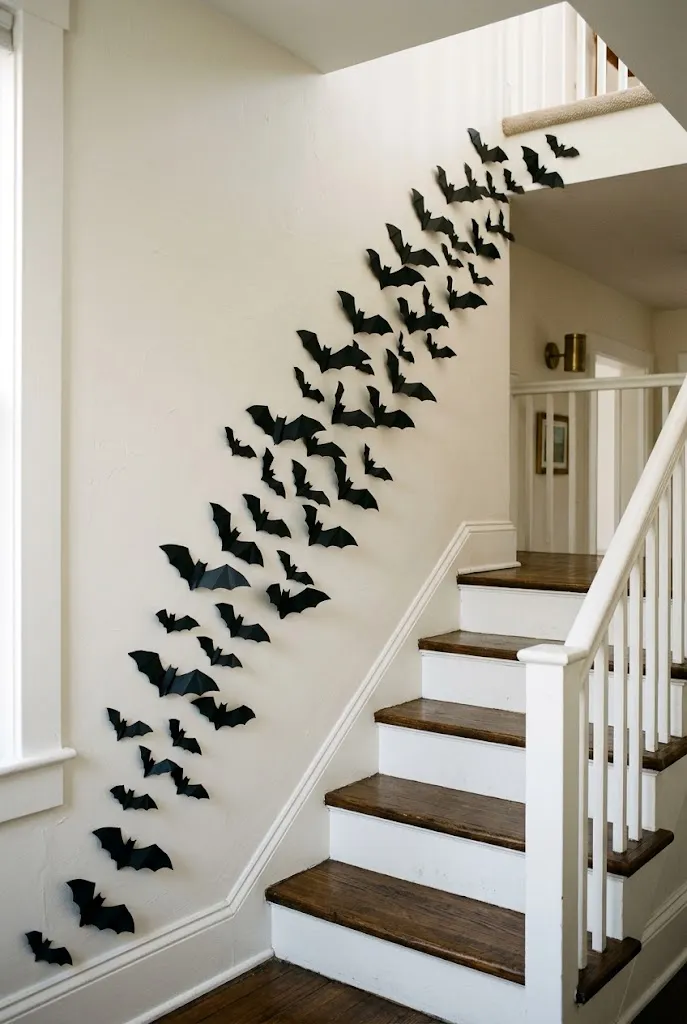
A flock of black bats climbing a wall is one of the simplest ways to make a plain stretch of drywall feel seasonal. Cut bat silhouettes from matte black cardstock in three or four sizes, from palm-sized to roughly the span of two hands. Fold each one gently down the center so the wings lift off the wall.
Arrange them in a loose diagonal, starting with the largest near the bottom and tapering as they climb. Removable poster putty or low-tack tape keeps paint intact, which matters in a rental.
Tips & Tricks
- Cut a single template from a cereal box and trace it for consistency, then vary the sizes by scaling the template on a copier.
- Space the bats unevenly. Perfect spacing looks stiff.
- Add a few bats on the ceiling line to make the flock feel like it’s moving.
2. Paint an Ombré Pumpkin Trio for the Mantel
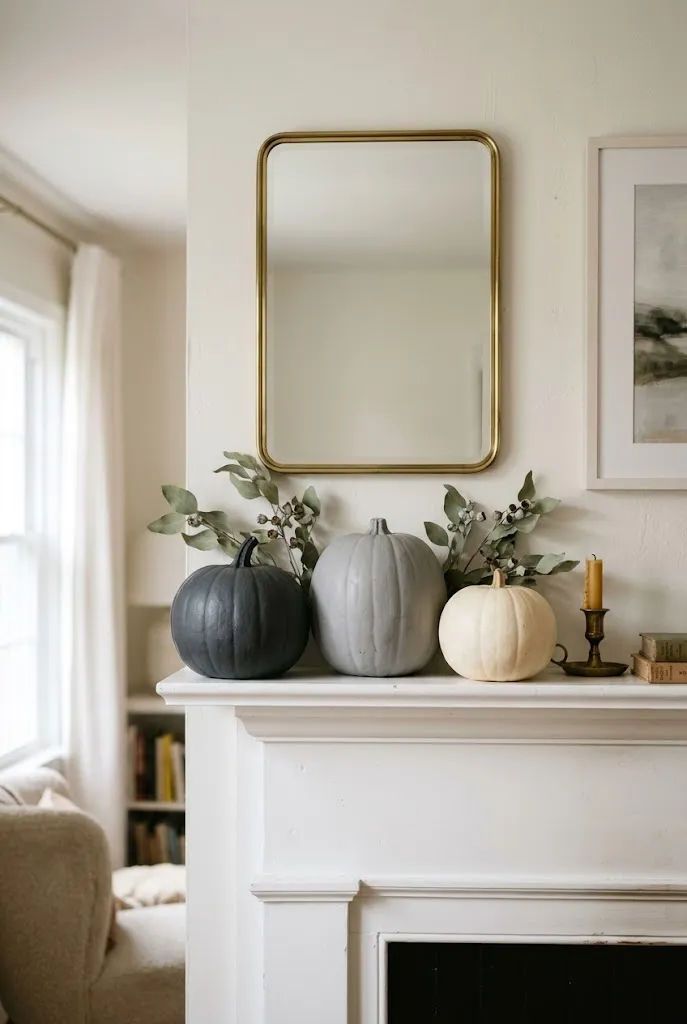
Painting pumpkins in a graduated color story feels more deliberate than a pile of plain orange ones. A trio shaded from charcoal to soft gray to warm white looks right on a mantel, while a burnt orange to deep rust to cream version leans harvest.
Start with a base coat, then blend a second shade into the lower third with a dry brush or sponge. Seal with a matte clear coat so the finish looks like ceramic rather than craft paint.
| Option | Effect / Advantage | Best Fit |
|---|---|---|
| Real pumpkins | Natural weight and shape; short lifespan indoors | Display for a few weeks |
| Faux foam pumpkins | Lightweight, reusable, take paint evenly | Annual mantel displays, renters |
| Craft-store resin pumpkins | Heavier, more realistic stem detail | Pieces you want to keep for years |
Editor’s Note: Odd numbers read as intentional. Vary heights by setting the tallest on a small riser such as a stack of books wrapped in fabric.
3. Build a Potion Shelf From Glass Jars and Dried Botanicals
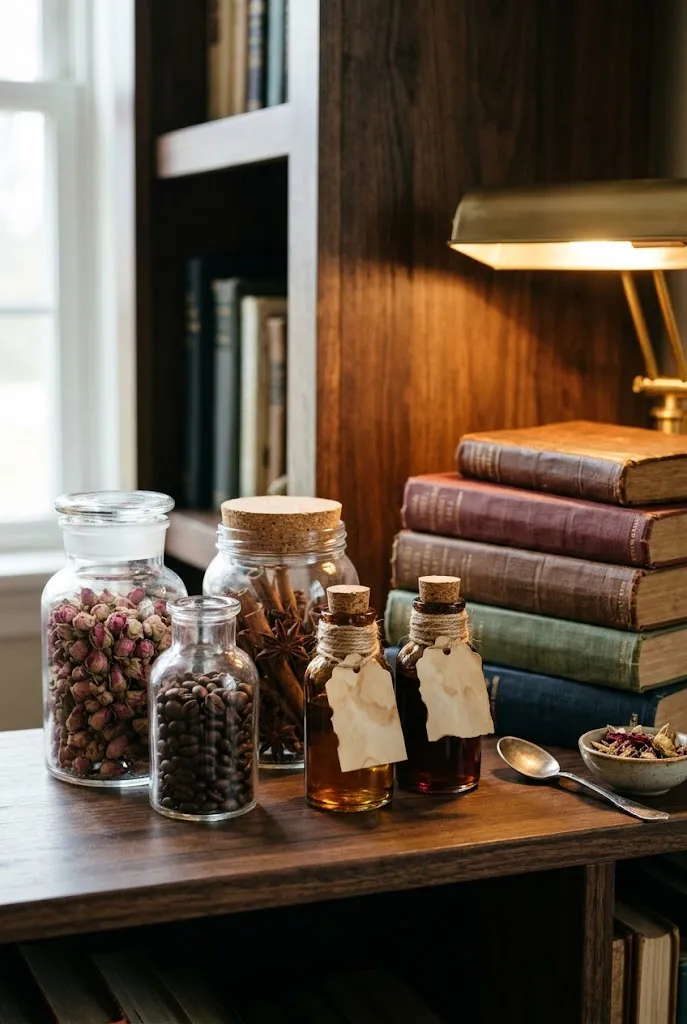
Gather clear jars in mixed sizes, from old pasta sauce jars to small apothecary bottles, and fill them with things that look interesting up close: dried rose buds, cinnamon sticks, coffee beans, tea-dyed twine, feathers, or colored water tinted with a drop of food coloring.
Wrap each neck with twine or cheesecloth and hang a blank tea-stained paper tag from it. Group them on a bookshelf or floating shelf with a few taller pieces at the back and a small stack of old books beneath.
Do / Don’t
- Do vary the heights and fill levels so the shelf reads like a collection.
- Do keep colored liquids sealed and away from fabric and carpet.
- Don’t fill jars with anything perishable that will attract pests.
4. Stiffen Cheesecloth Into Floating Ghosts
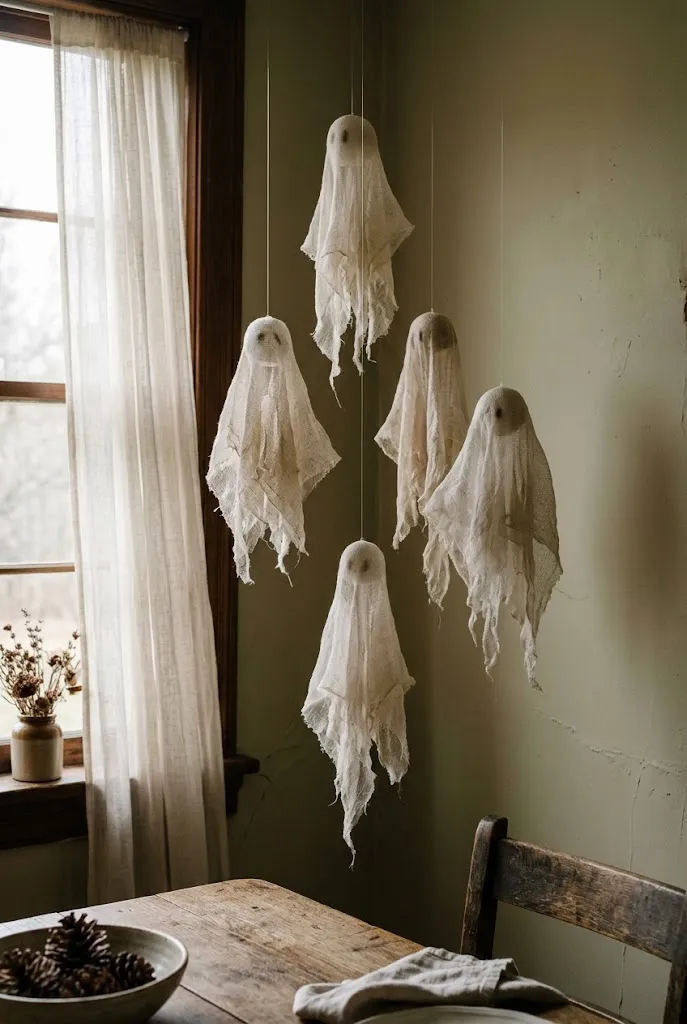
Cheesecloth ghosts have a haunted, airy look that plastic versions can’t match. Drape a few layers of cheesecloth over a form such as a balloon taped to a bottle, soak it in fabric stiffener or a diluted white glue mixture, and let it dry completely until it holds its shape.
Pop the balloon and lift the ghost off. Hang several at different heights from the ceiling or a curtain rod using clear fishing line.
Quick Facts
Best For: Dining rooms, entryways, and living room corners with ceiling clearance Investment: Accessible Visual Effect: Soft, translucent shapes that sway slightly with air movement
Keep them clear of candles or heat sources, since cheesecloth is flammable.
5. Weave a Dried Floral Wreath in Black and Burnt Orange
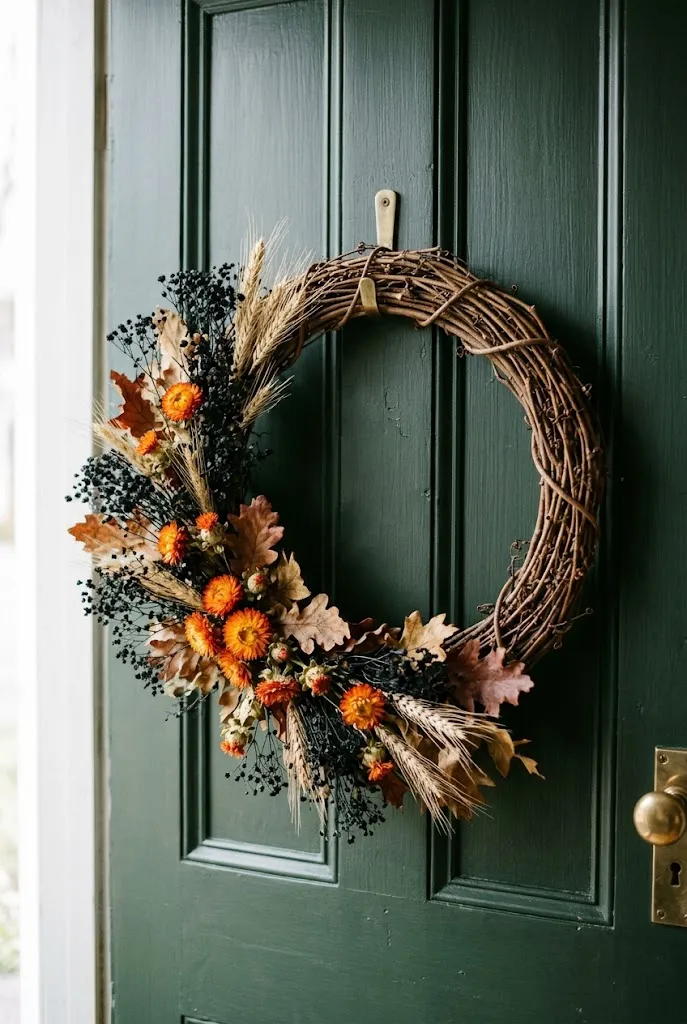
Dried flowers hold up well indoors and give a wreath a handmade, slightly wild shape. Start with a grapevine base, then tuck in bunches of dried wheat, preserved oak leaves, black-sprayed baby’s breath, and a few dried orange flowers such as strawflower.
Work in clusters rather than evenly, leaving some bare grapevine showing so the wreath keeps its organic outline. Secure stems with floral wire for a firmer hold than glue alone.
Common Mistake: Covering the entire base so the wreath looks dense and flat.
Better Approach: Leave one or two areas relatively open and concentrate the flowers in an asymmetrical crescent. The negative space gives the eye somewhere to rest.
6. Style a Dinner Table With Branches and Flameless Tapers
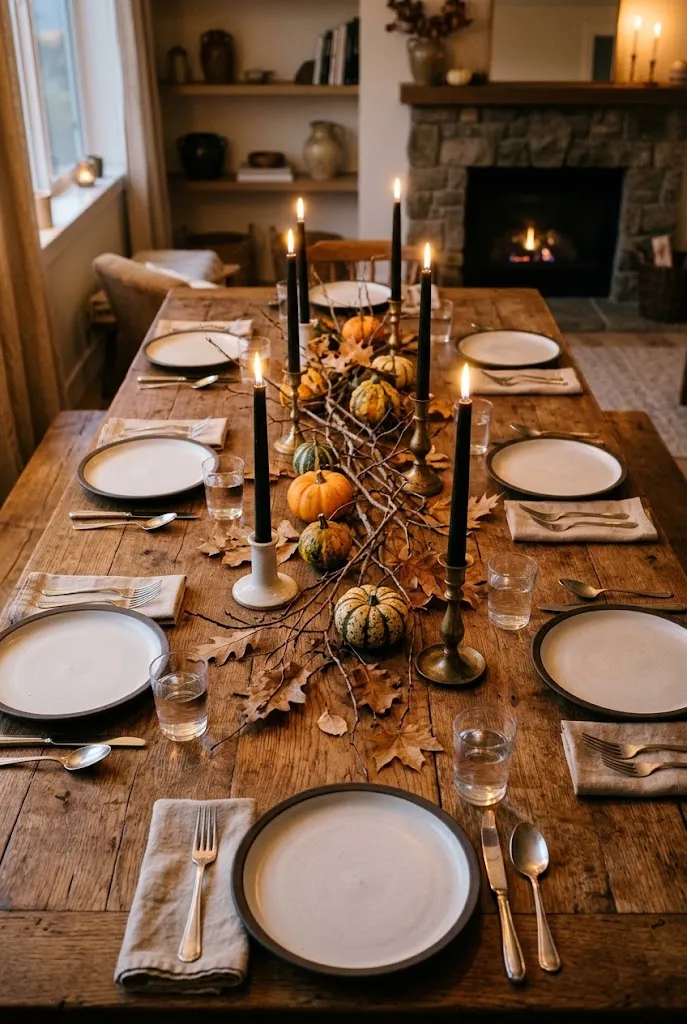
A table centerpiece doesn’t need to be crowded. Lay a few bare branches down the center of the table, add several black taper candles in varying heights, and tuck in dried leaves or small gourds between them.
For safety and consistency, use flameless LED tapers with a warm flicker rather than real flame, particularly near dried plant material. Set them in mismatched candlesticks, brass, ceramic, or painted wood, so the arrangement looks collected.
- Lay a runner or bare wood as the foundation.
- Place branches and candlesticks at varying heights.
- Fill gaps with gourds, dried leaves, or small pumpkins.
7. Spin a Spiderweb Across a Mirror
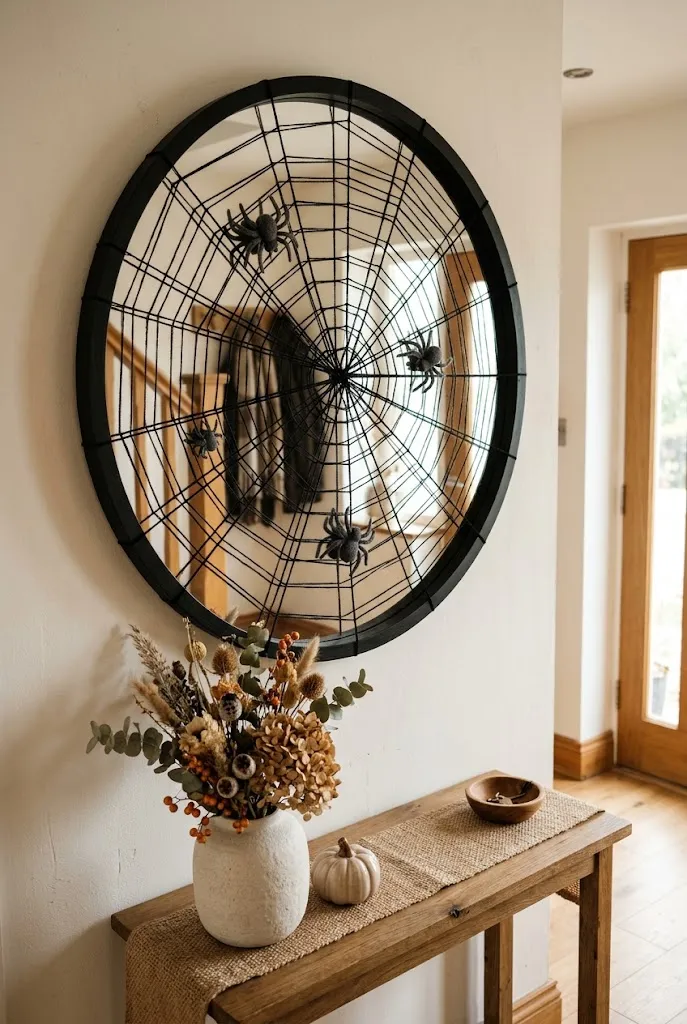
Black yarn or thin cord wrapped across a mirror frame makes a quick, graphic web with almost no cost. Anchor strands at the corners and midpoints with removable tape, then loop more strands across to create radial lines. Weave a spiral between them to complete the web.
A few small black felt spiders tucked into the strands finish the look. Because yarn can catch on glass cleaner or hang loose, keep the weave snug and trim stray ends.
8. Tea-Stain Printable Art for a Gothic Gallery Wall
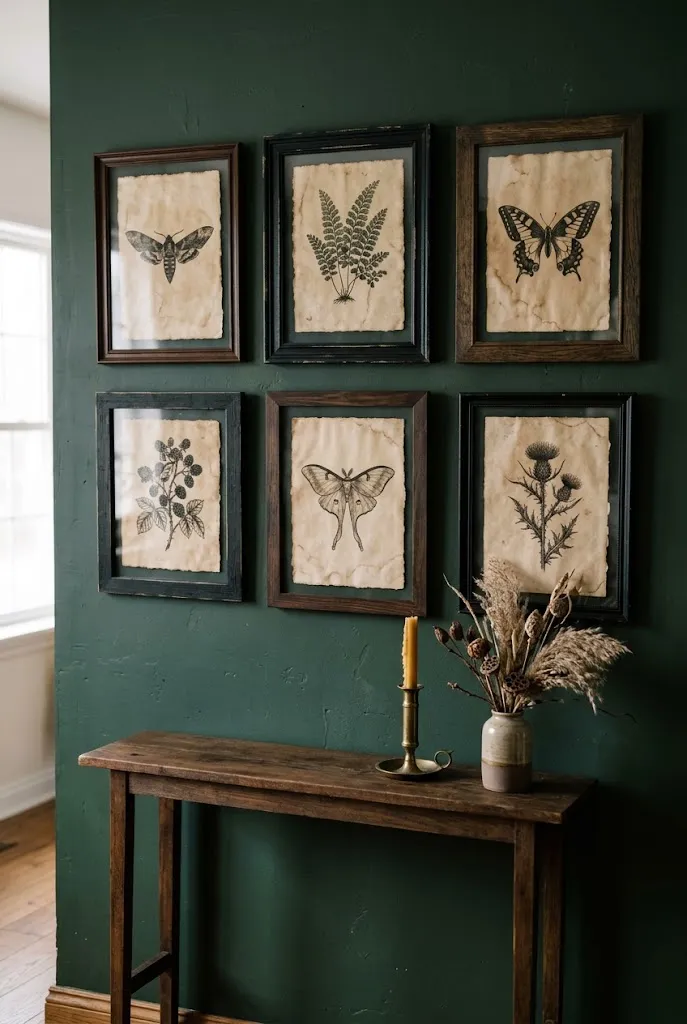
Print botanical, moth, or moon illustrations from public-domain sources on plain paper, then age them with a light wash of cooled black tea. Let the sheets dry flat, then press under books to remove warping.
Frame them in thrifted frames sprayed matte black, or leave the frames in their original wood for a more collected look. Hang them in a loose grid with consistent spacing.
Quick Facts
Best For: Hallways, dining room walls, and above a console Investment: Accessible to moderate, depending on frames Visual Effect: Quiet, vintage atmosphere rather than novelty
9. Mount Moths in a Shadow Box
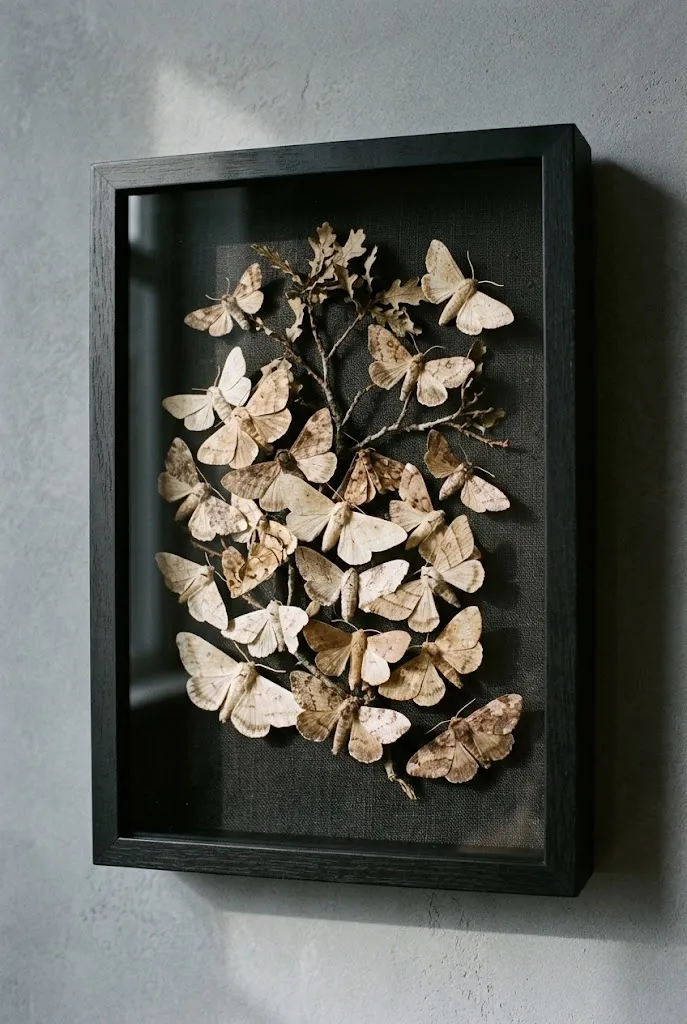
A shadow box lets you display delicate things without handling them. Use paper or cardstock moths, or cut moth shapes from old book pages, and pin them in a loose cluster against dark linen or black card.
Layer a few dried leaves or a small branch behind them for depth. The deeper the box, the more shadow the wings will cast, which adds drama.
Editor’s Note: Pin the moths with tiny dabs of glue rather than pins if you want a cleaner front view. Use a variety of sizes so the cluster feels natural.
10. Spray-Paint Thrifted Candlesticks Into a Black Candelabra Set
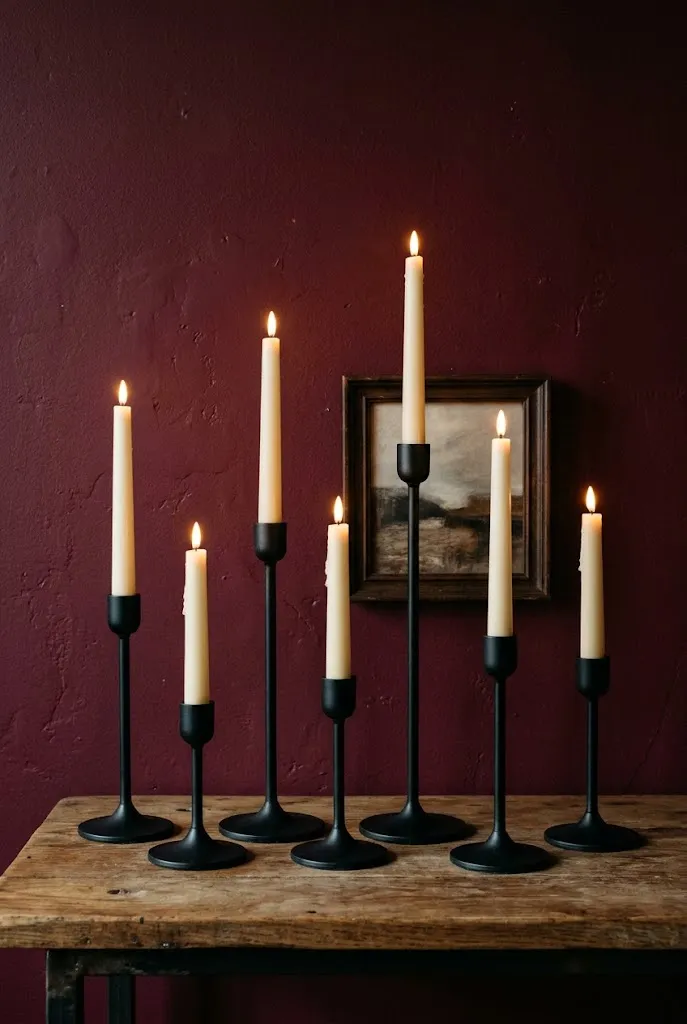
Mismatched brass, glass, and wooden candlesticks look unified when sprayed in the same finish. Clean each piece, scuff glossy surfaces lightly, and apply thin coats of matte black spray paint in a ventilated space, letting each coat dry before the next.
Group the pieces on a console or windowsill at different heights, pairing them with flameless tapers. A cluster of five to seven reads as a deliberate display.
Do / Don’t
- Do work outdoors or in a well-ventilated area and follow the can’s drying instructions.
- Do use thin coats to avoid drips.
- Don’t place real candles in painted holders unless the paint is rated for heat.
11. String a Feather Garland Across the Window
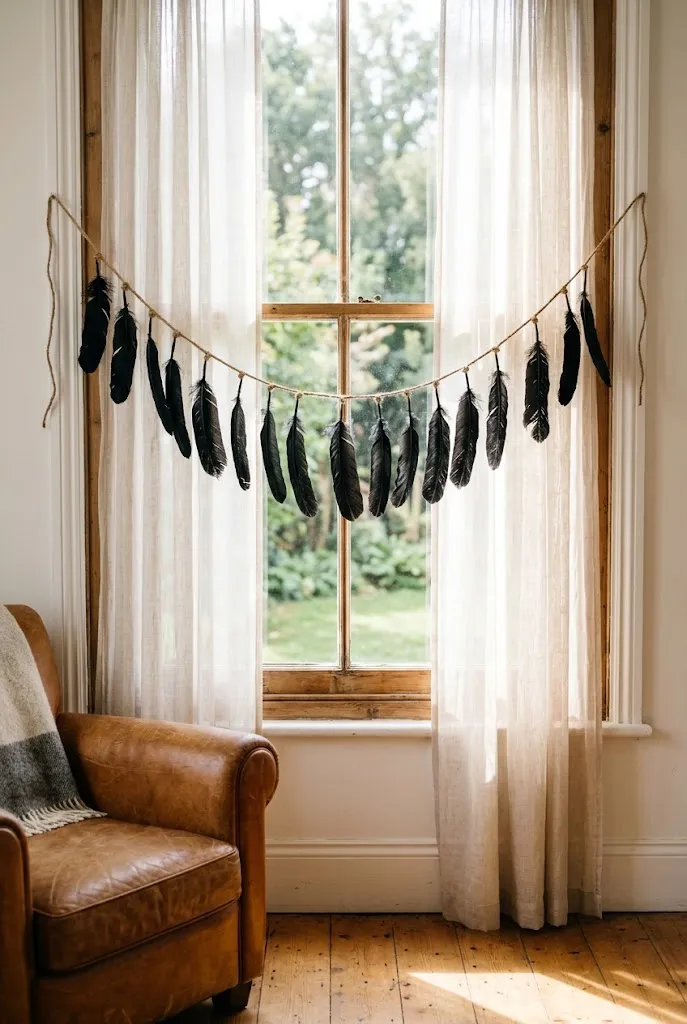
Black craft feathers on a length of twine look surprisingly graceful when spaced evenly and allowed to hang loose. Knot each feather onto the twine with a short piece of thread, or glue the quill to a small bead.
Hang the garland across a window frame or over a doorway, where air movement will make the feathers drift.
Quick Facts
Best For: Windows, doorways, and the top of a bookshelf Investment: Accessible Difficulty: Beginner-friendly, mostly measuring and tying
12. Construct a Cardboard Haunted Village for the Coffee Table
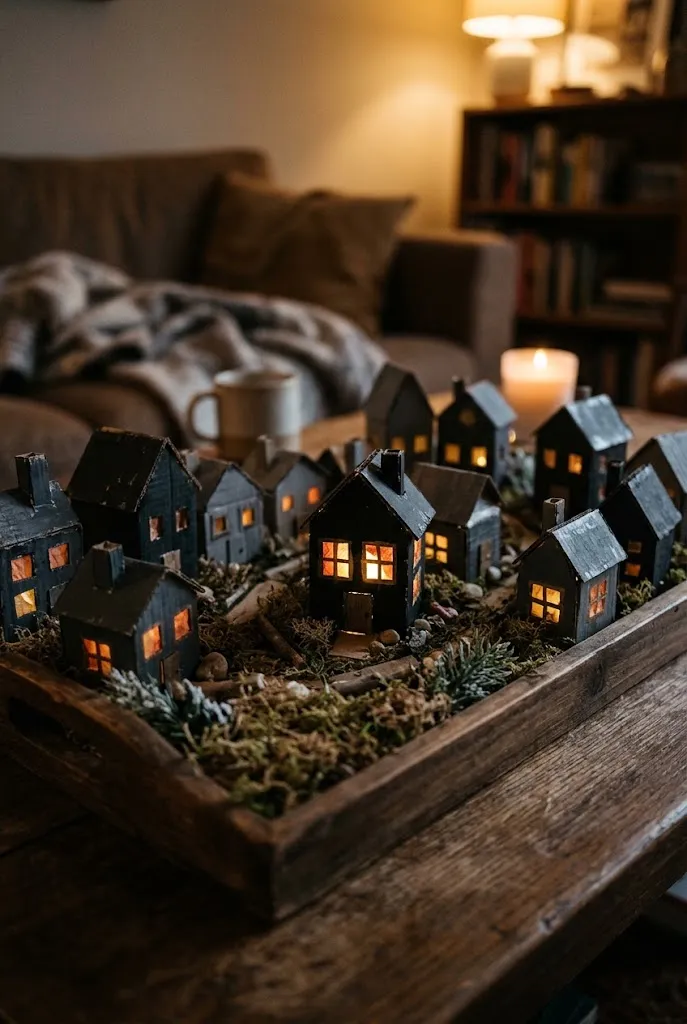
Cut small house shapes from cardboard, glue them together with flaps and pitched roofs, and paint them black, charcoal, and deep gray. Cut out windows and tape tissue paper behind each one, then slip a battery tea light inside so the windows glow.
Place the houses on a tray with a bed of faux moss, bare twigs, or sifted flour-free fake snow. Varying house sizes creates a skyline.
- Cut and score the house shapes.
- Assemble and paint, then let dry.
- Add windows, tissue, and a flameless light.
13. Turn a No-Carve Pumpkin Into a Dried Flower Vase
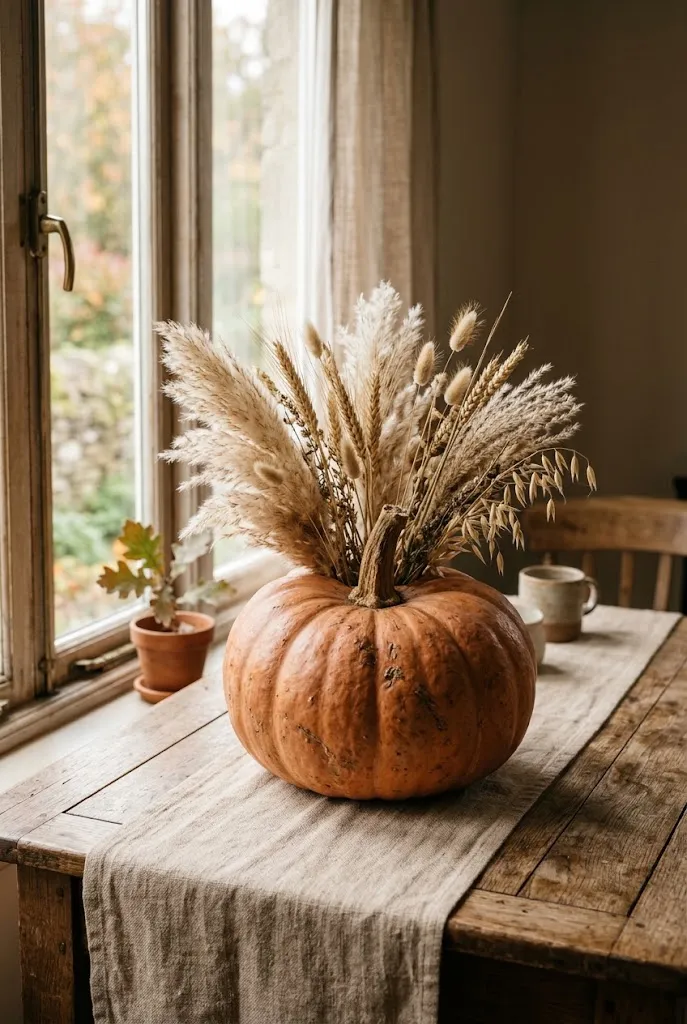
Instead of carving, cut a wide opening in the top of a real or faux pumpkin and hollow it out. For a real pumpkin, line the cavity with a plastic cup or small jar to keep water from soaking the flesh.
Fill with dried pampas grass, wheat, or preserved branches. Real pumpkins work best when displayed for only a short period, since they soften indoors.
Common Mistake: Using fresh flowers in an unlined carved pumpkin.
Better Approach: Line the cavity, or choose dried arrangements that don’t need water.
14. Create a Cloche Curiosity Vignette
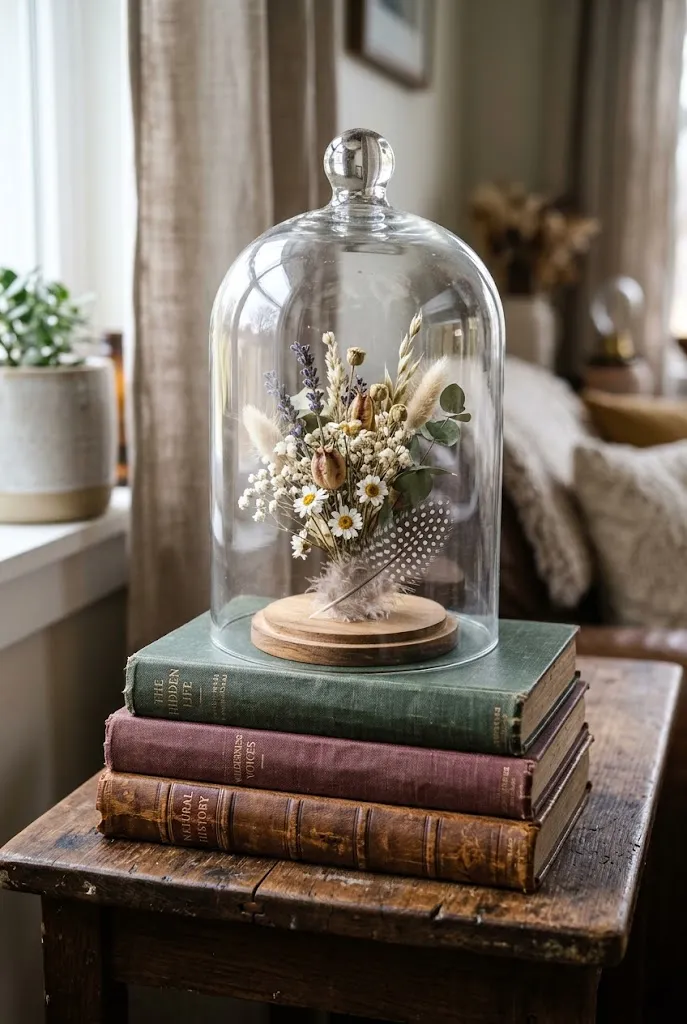
Place a glass cloche or inverted jar over a small collection: a miniature skull, a moth, a clutch of dried flowers, or a feather. Set it on a small book or wooden riser to give it height.
Keep the contents sparse. One or two carefully chosen objects read better than a crowded cluster. Line the base with moss or dark linen to anchor the arrangement.
15. Thread a Black and Cream Wood Bead Garland
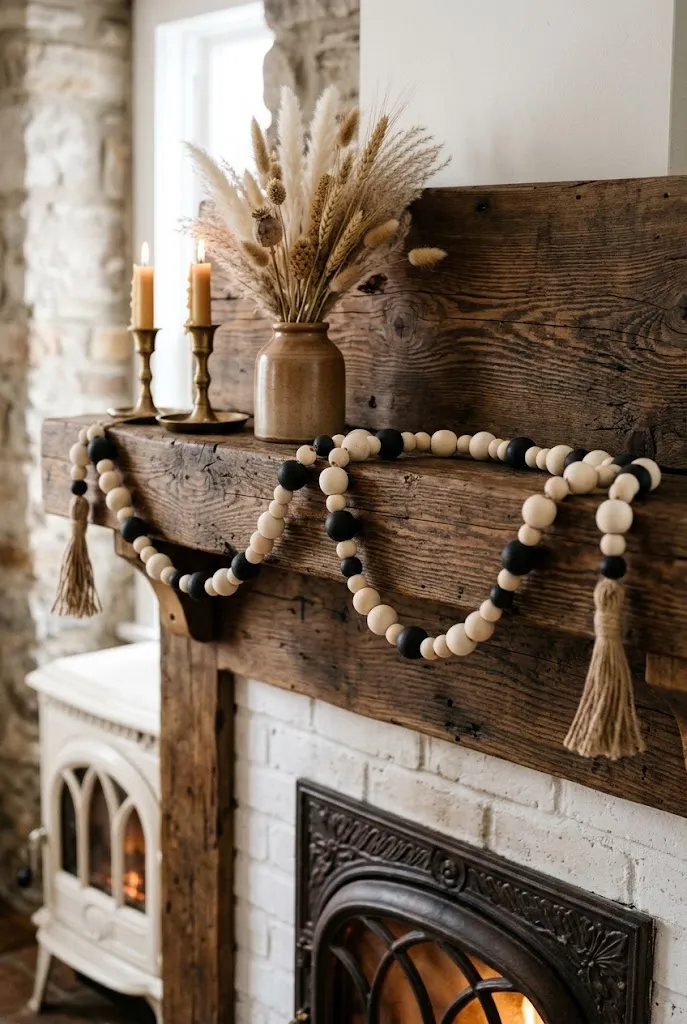
Wooden beads in black, cream, and natural tones strung on twine make a garland that works beyond Halloween. Paint plain wood beads, let them dry fully, then thread them in a pattern: three black, one cream, one natural.
Drape it across a mantel, on a bookshelf, or draped over a mirror. Add a tassel at each end for finish.
Tips & Tricks
- Use a thick needle or tape the end of the twine for easier threading.
- Vary bead sizes slightly for visual interest.
- Seal painted beads with a clear matte coat if they’ll be handled often.
16. Group Painted Skulls on a Bookshelf
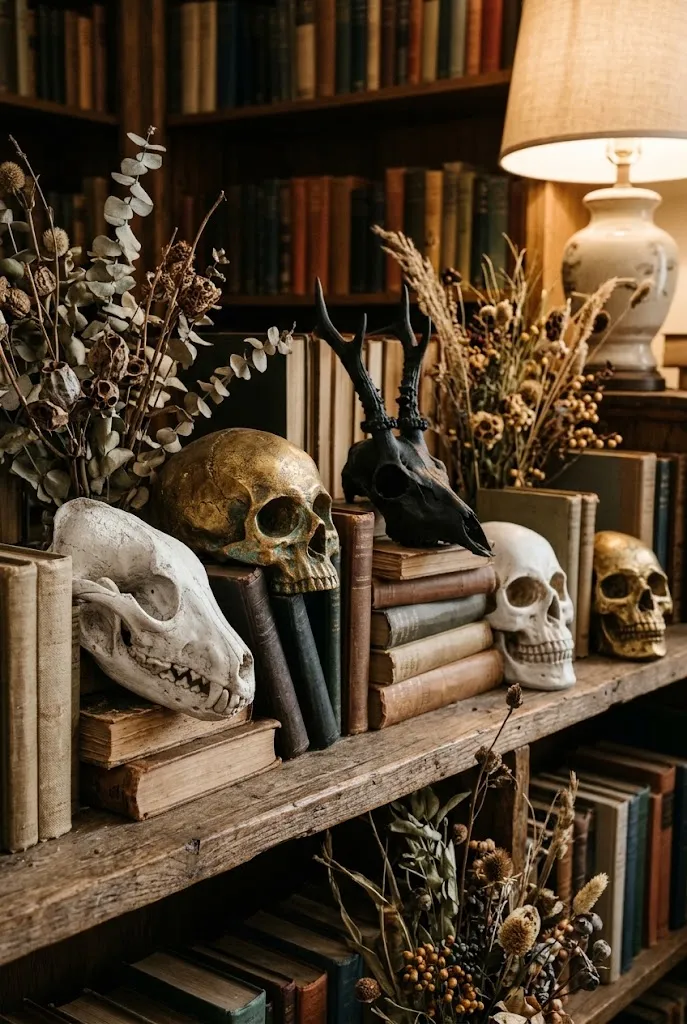
Faux resin or foam skulls take paint well and can be finished in many ways, from matte white to antique gold. Cluster three to five in different sizes and finishes on a shelf.
| Finish | Effect | Best Fit |
|---|---|---|
| Matte white | Clean, sculptural | Modern shelves |
| Antique gold | Warm, collected | Dark walnut shelves |
| Black matte | Dramatic, graphic | Light-colored walls |
Keep the display modest and pair with books and dried botanicals.
17. Dress a Bare-Branch Tree With Hanging Ornaments
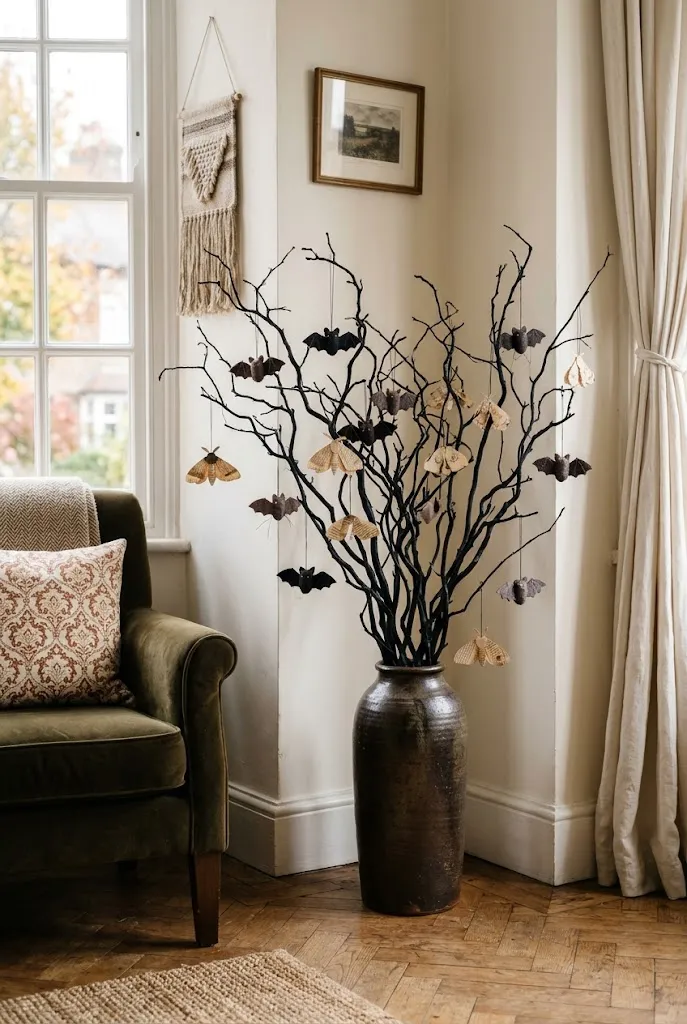
Spray a handful of bare branches black or white, then stand them in a tall vase filled with stones to hold them upright. Hang small ornaments from the branches: felt bats, paper moths, wooden beads, or tiny mirrors.
Keep the ornament count restrained so the branches remain visible.
Quick Tip: Use lightweight ornaments so branches don’t droop.
18. Sew Pumpkins From Old Sweaters
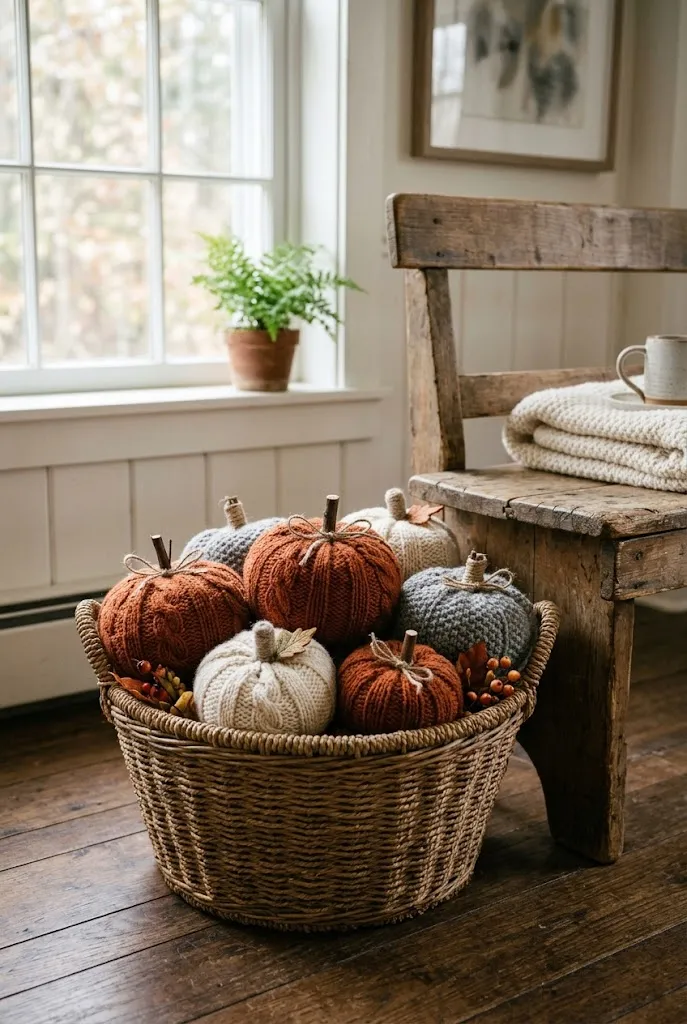
Cut the sleeves off a thrifted sweater, stuff them with batting, and cinch one end to create a pumpkin shape. Add a stick or cinnamon stem and a tuft of twine.
Soft, textured pumpkins look good in a basket, on a bench, or tucked among books. Use orange, rust, gray, and cream for a coordinated look.
- Cut the sleeve to length.
- Turn the cut end inside and gather it with thread.
- Stuff, close, and add a stem.
19. Set Up a Candy Station on Cake Stands
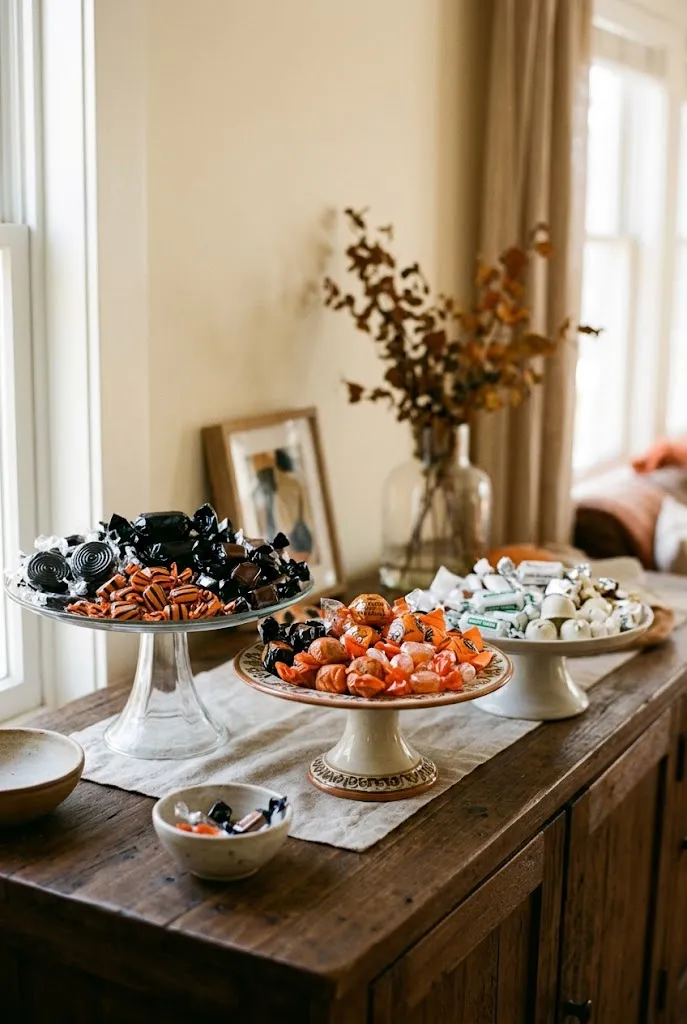
Stack cake stands or pedestal dishes at different heights and fill them with wrapped candy sorted by color. Keep the palette limited to black, orange, and white to look intentional.
Place a few small scoops or tongs nearby, and keep the station out of direct sunlight.
Editor’s Note: Wrapped candy is easier to keep tidy and easier to refill.
20. Cut Window Silhouettes From Black Adhesive Paper
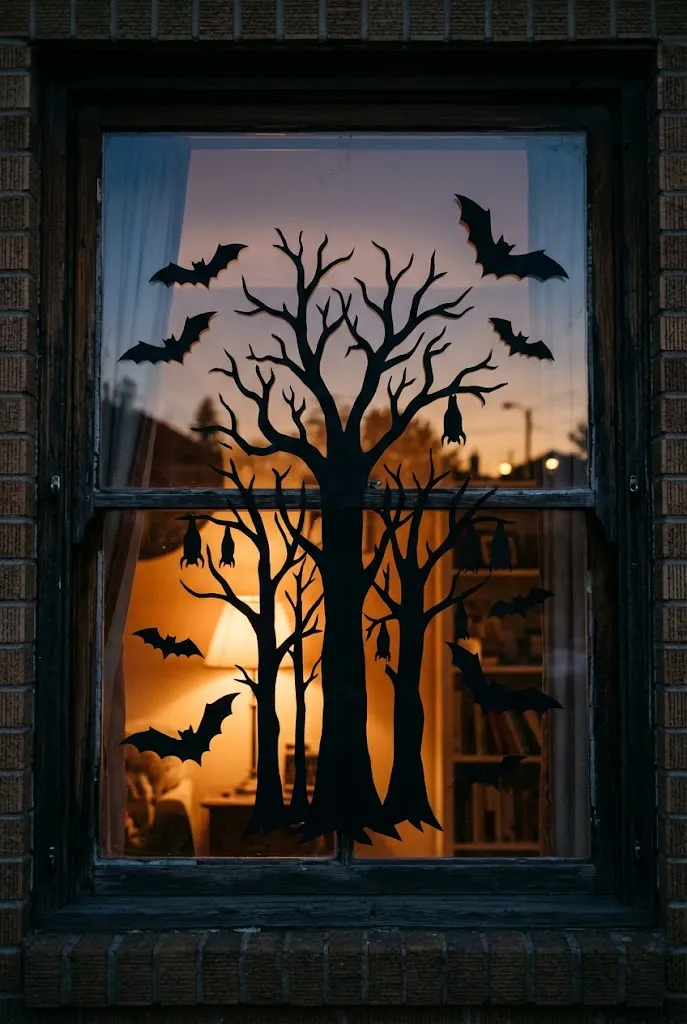
Cut black adhesive paper into shapes such as bare trees, bats, or a haunted house skyline, then press them to the inside of a window. They’ll show most clearly at dusk when a lamp is on behind them.
Use a removable adhesive and test a small corner first so the glass stays clean.
21. Wrap the Banister in Black Florals and Ribbon
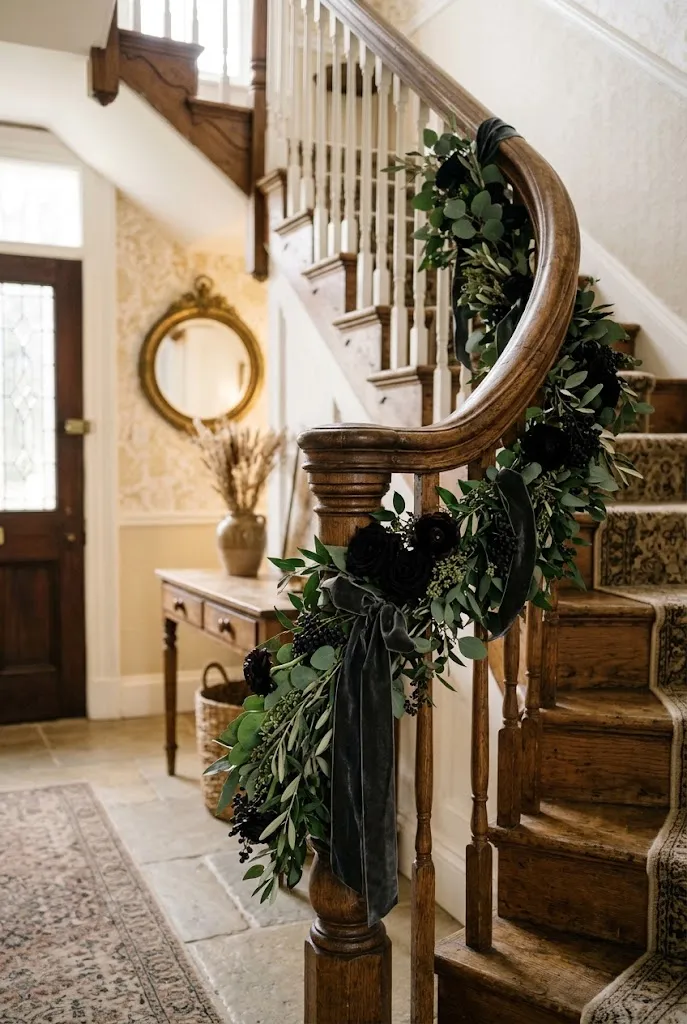
Weave faux black florals, eucalyptus, and dark ribbon along a banister, securing them with floral wire. Vary the density so the garland looks natural, fuller in some spots and sparser in others.
Anchor at the newel post with a larger cluster.
Do / Don’t
- Do secure with wire or removable hooks.
- Don’t hang anything that could catch a foot or hand on the stairs.
22. Stencil a Bat Pattern Onto a Linen Table Runner
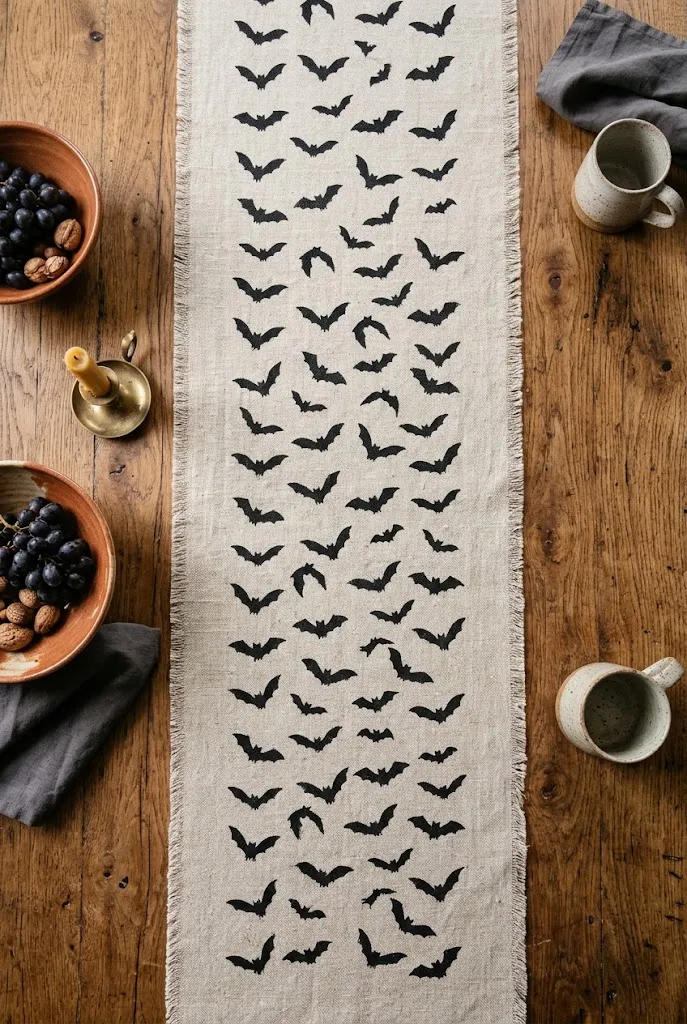
Cut a bat stencil from stiff paper or plastic and apply black fabric paint with a sponge brush. Dab, don’t brush, to keep edges crisp.
Let the runner dry fully before use, and heat-set according to the paint instructions.
23. Plant a Cauldron Centerpiece With Moss and Mushrooms
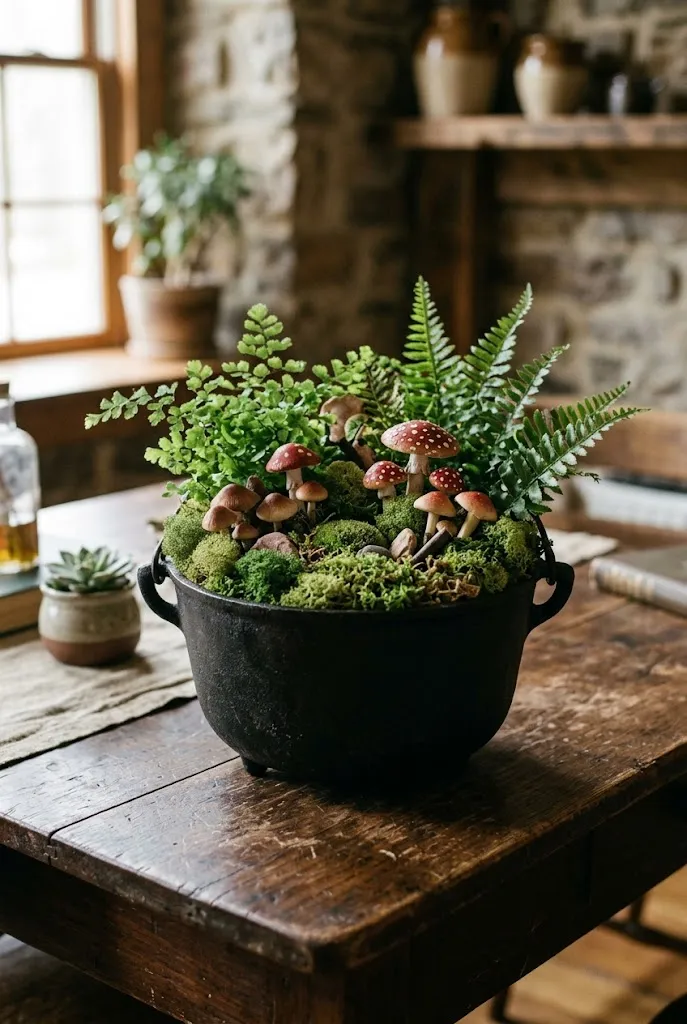
Use a small black cauldron or a painted pot and fill it with floral foam topped with preserved moss. Add faux mushrooms and dried ferns.
Keep it on a tray to protect surfaces.
24. Shape Air-Dry Clay Trinket Dishes
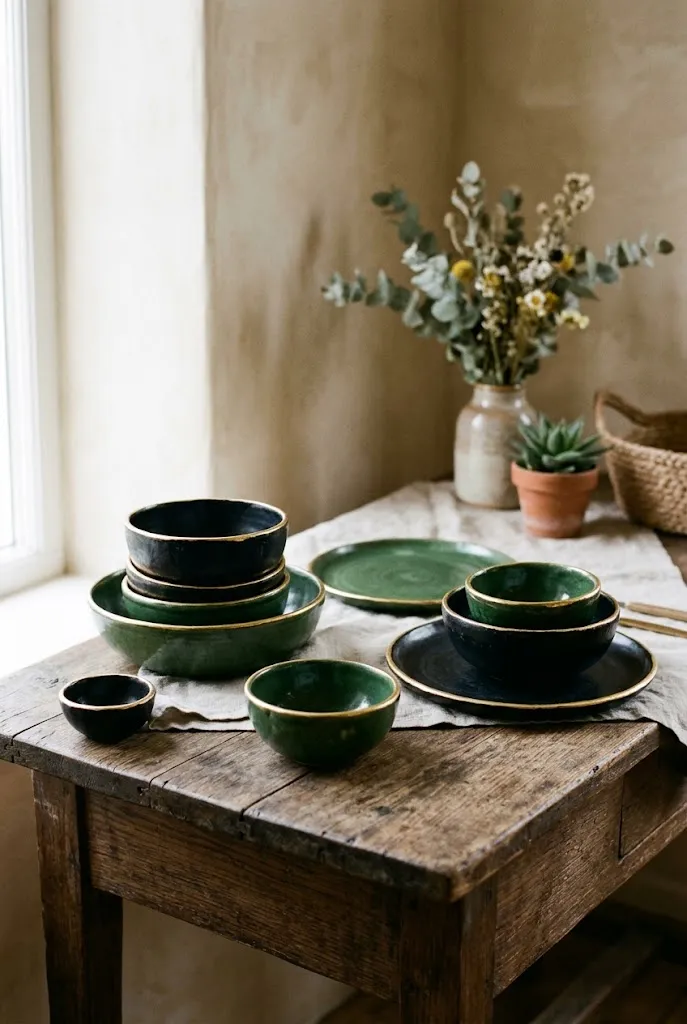
Roll air-dry clay flat, press into a shallow bowl shape, and let it dry. Paint in matte black or deep green and add a gold rim.
Use for rings, keys, or candy.
25. Cut a Felt Moon Phase Garland
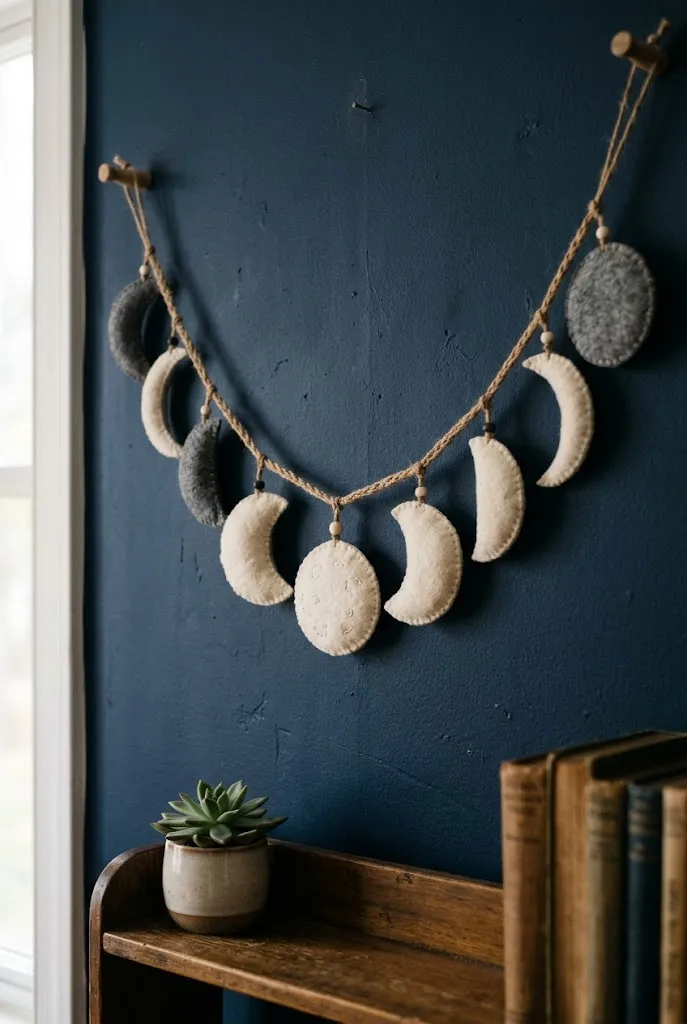
Cut circles from cream, gray, and black felt, then layer them to create waxing and waning moons. String them on twine.
Hang across a wall or mantel.
26. Glaze Mason Jars With Tissue Paper
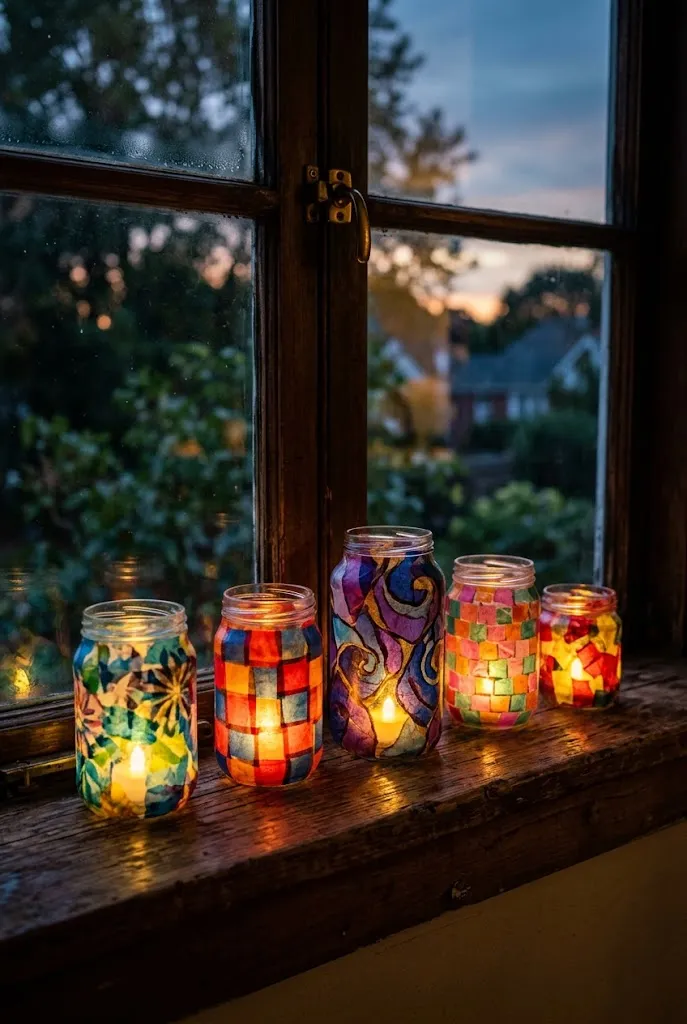
Brush decoupage medium on jars, press on torn black, orange, and purple tissue, and seal. Place a flameless light inside.
Cluster on a table or windowsill.
Where to Start
You don’t need to make all 26. Pick one project for each area you want to refresh, such as the mantel, the table, and a wall, and work from there. Keep a consistent palette, such as black, cream, and burnt orange, so mixed projects look cohesive. Store them carefully after the season, and they can return next year.